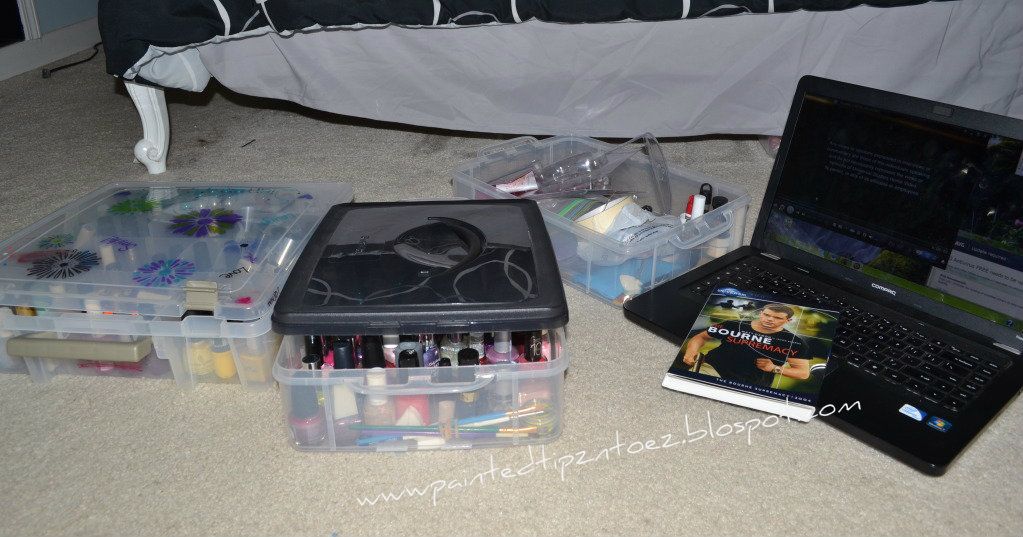
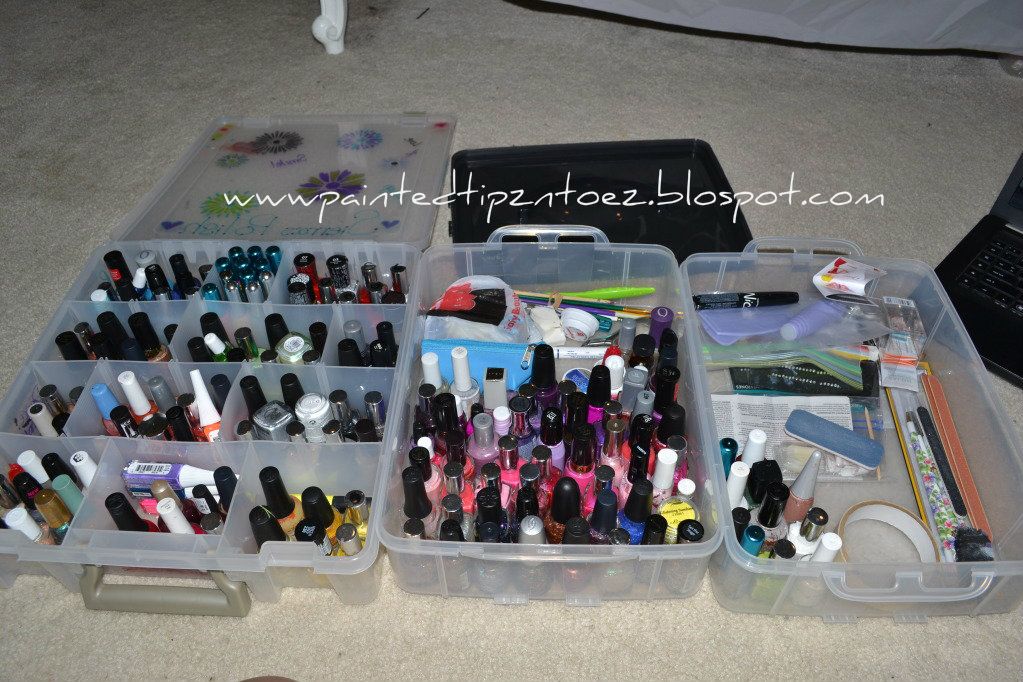
I haven't bought this much polish in a while! But there were deals EVERYWHERE!! And I just couldn't pass them by. What can I say nail polish is my guilty pleasure....sigh! Oh-well! I don't have a problem with this haha
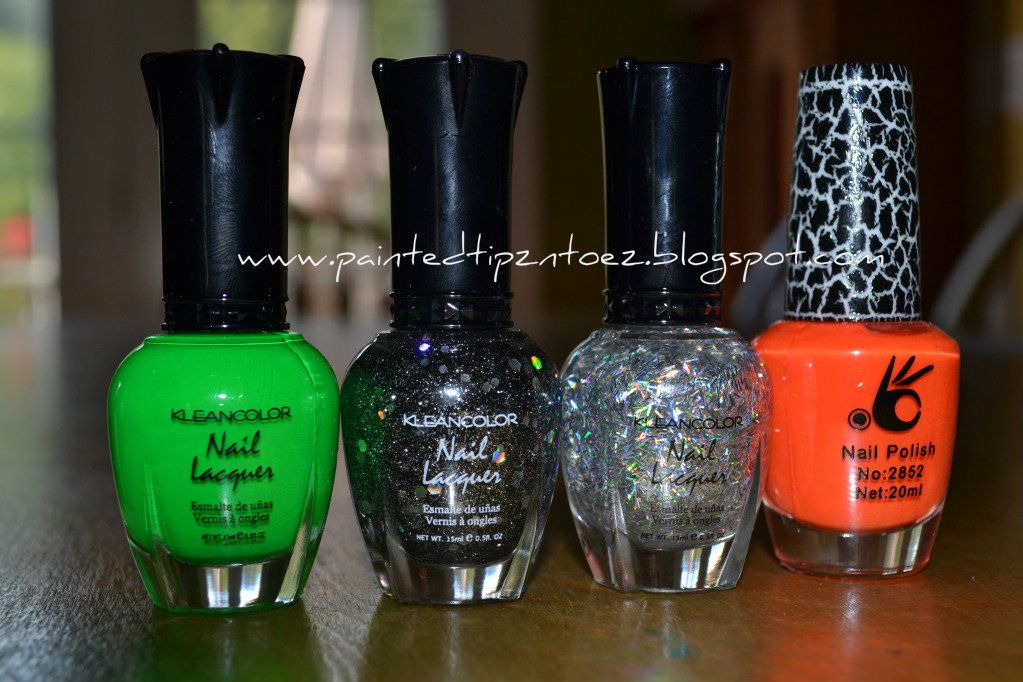 "Neon Green," Grand Finale," "Black Out" From Kleancolor Nail Lacquer and "Cosmetic" Not Sure What brand it is-
Before I begin with the polish review, let me say I got all of these polishes for 1.00$ that's right ONE DOLLAR a piece!! I went with to a flea market near Gatlinburg and ran across two or three nail polish stands. Now I know what you're thinking used nail Polish? Not the smartest idea! Well I checked the polish has not been used plus the sellers were selling in bulk with a Kleancolor stand. So, after checking the polish over and finding out they were only a dollar I knew I had to buy some, and I was very pleased with the colors I chose.
"Neon Green," Grand Finale," "Black Out" From Kleancolor Nail Lacquer:
First off, I had never tried this brand before. When I picked up the first bottle I thought the brand sounded familiar but I wasn't sure. So, when I got home I googled the name! Turned out Kleancolor is over 3.00$ a bottle. So I defiantly got these polish for a deal!
"Neon Green," Is
a BRIGHT green polish! It is fairly opaque. It takes about 2 coats to get the
thickness I like. But that is how it is with most polishes! I am currently
wearing this polish right now and I really like how it looks!
"Grand Finale"- is a clear nail polish, pack slam full of thin pieces of glitter. This polish is a little thick, but, not overly thick. The glitter is sliver but, depending on how the light hits it, the polish also has a blue/green tint to it. I tried using this in my current mani, however, I didn't like the way it turned out. So, I took the polish over.
"Black Out"
Is a black polish that is loaded with silver glitter. The black
isn’t very opaque so it takes a few coats but the finished look is amazing!! This
polish reminded me of OPI “Metallic for Life” from the Nicki Minaj collection
released earlier this year. To me this looks like almost an exact dupe. What do
you think?
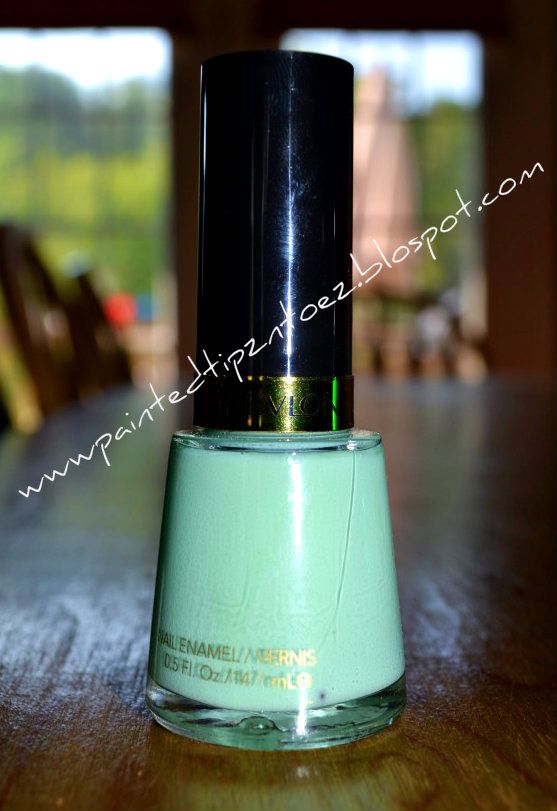
"85 Minted" Revlon
I have yet to try out this polish! But, I had been looking for a light minty green, for a few weeks. So when I saw this polish I knew I had to buy it! I think I bought it for about 4:00 at wal-mart! I will try to get a review on it as so as I use it in a manicure
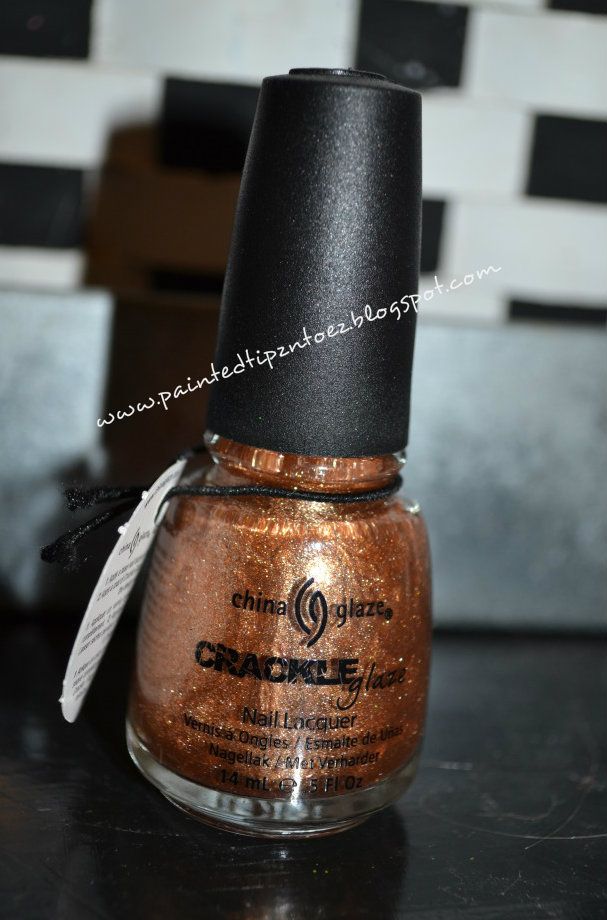
"Cracked Medallion" China Glaze-Crackle Glaze
This is another polish I have yet to try or swatch. I picked it up near the end of august, for only 1.50$ at sally's. Major deal I know. I love the copper shade and I have a feeling this will look great for fall manicures!!!
Well that all for this haul. Till next time
XOXO's
Love and Nail Polish,
Sierra


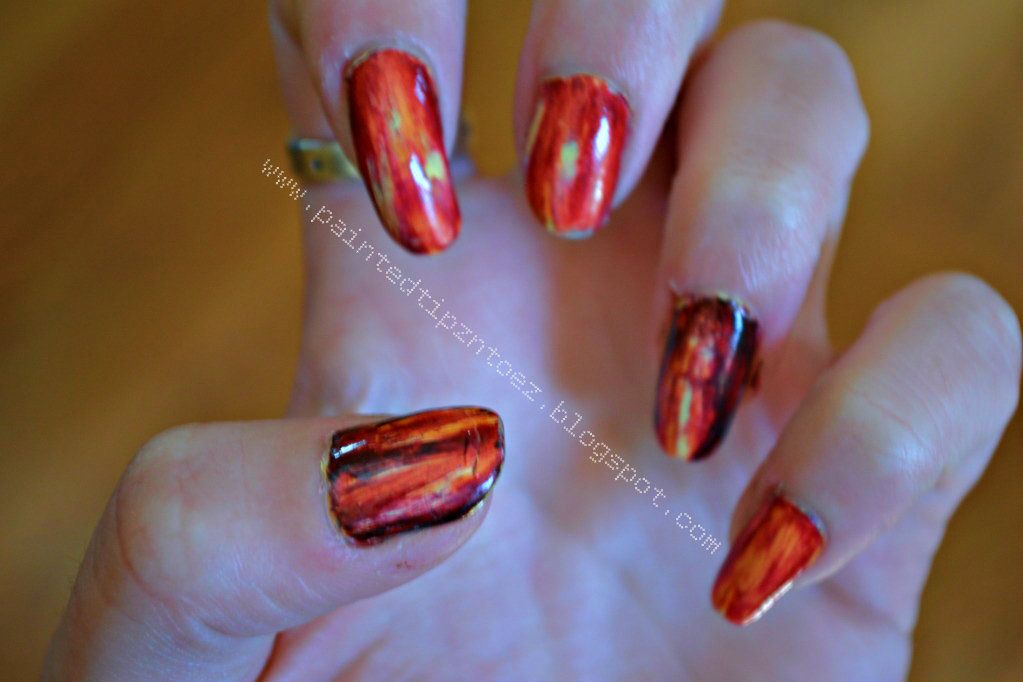
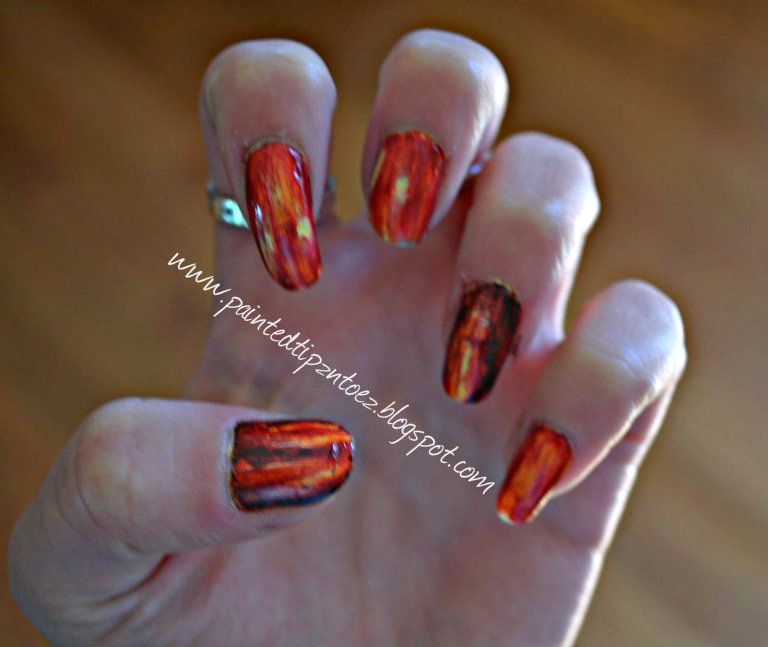


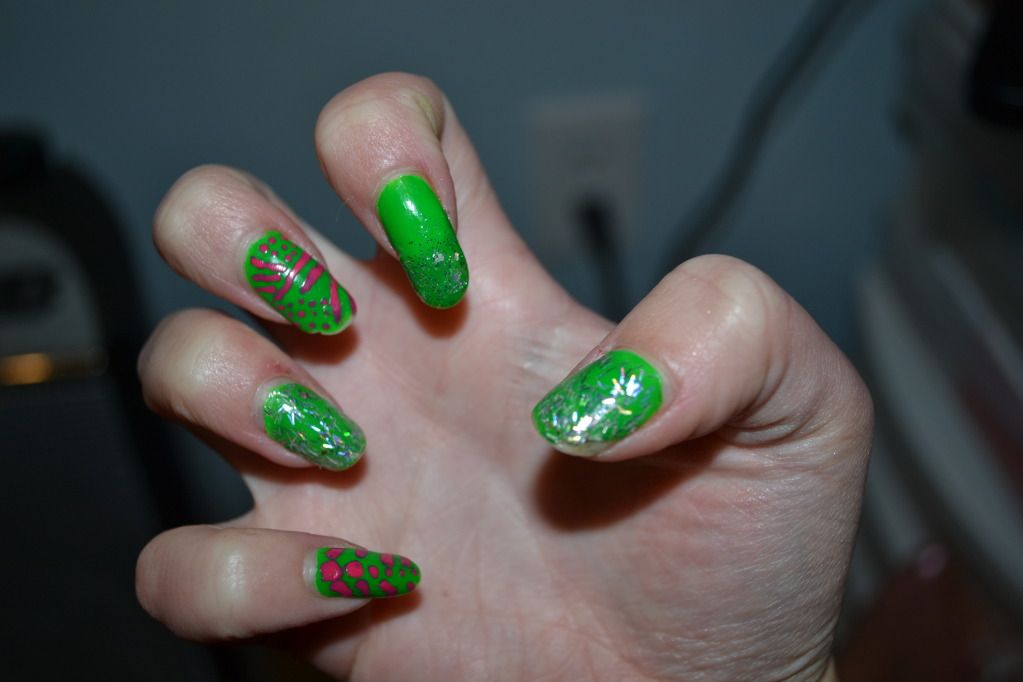
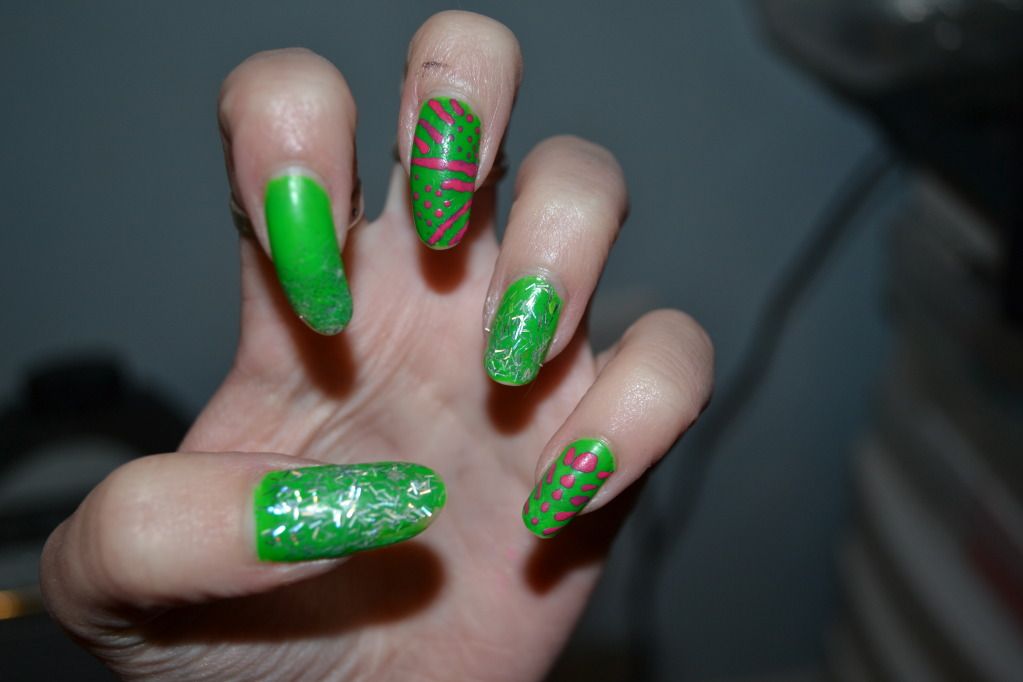
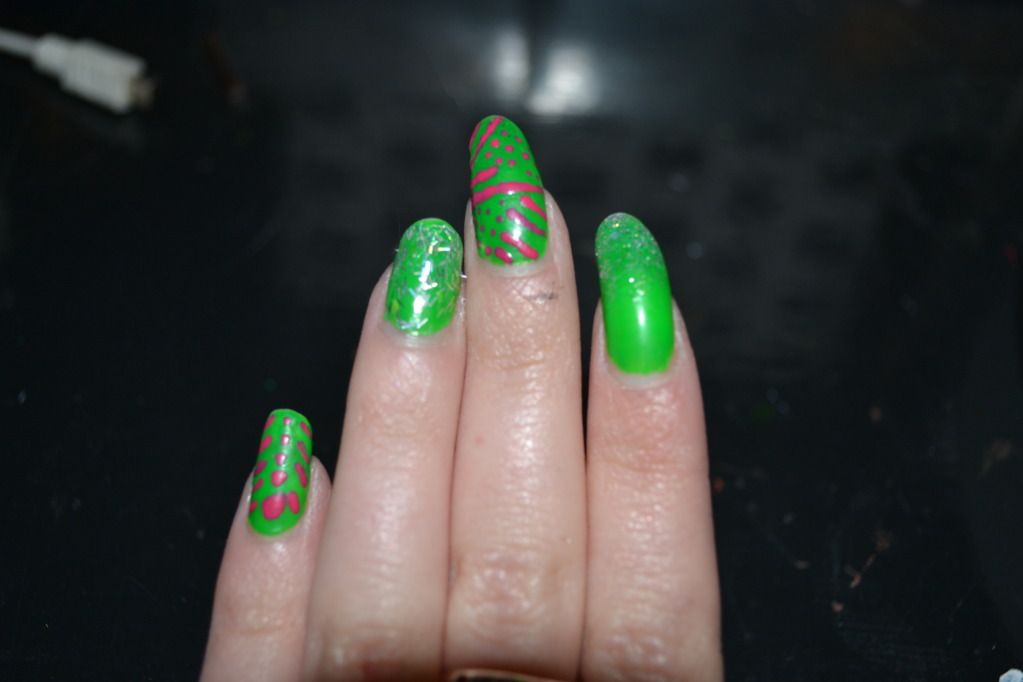
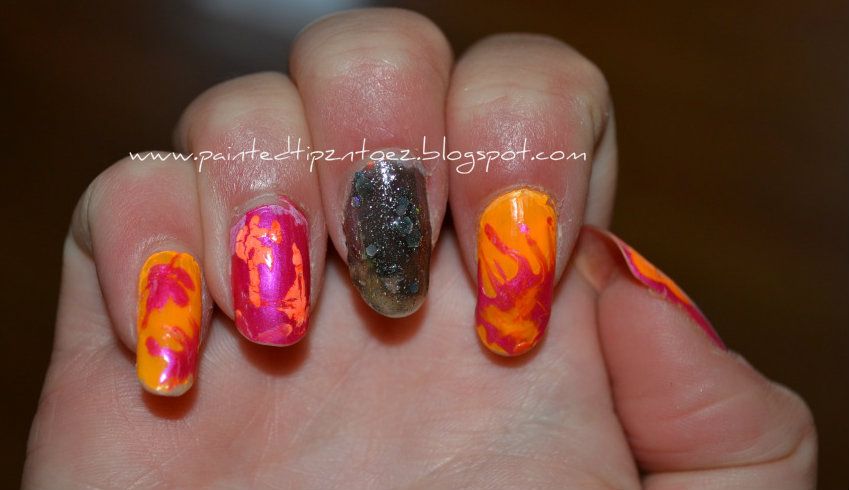


 Base: "Splash" from Pure Ice,
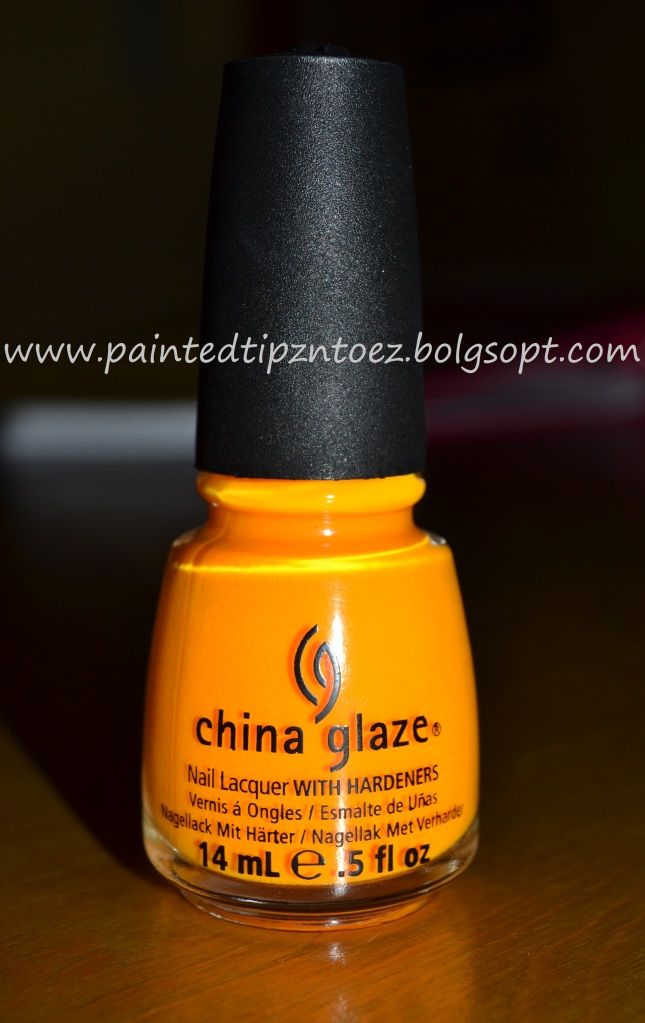
 This week I went to Sally's to "just look" haha. But of course I ended up coming home with polish. I came home with "Sun Worshiper" from China Glaze. "Sun Worshiper" is an amazing orange polish. The color reminds me of a sea horse orange, now sure why, but it does. The polish is not very opaque, but I think it just needs two coat and it with be prefect. "Sun Worshiper" is definitely one of my new favorites, the color is beautiful, it applies easy, the brush is great and I just really like this polish! I can't wait to use this polish in a full mani!