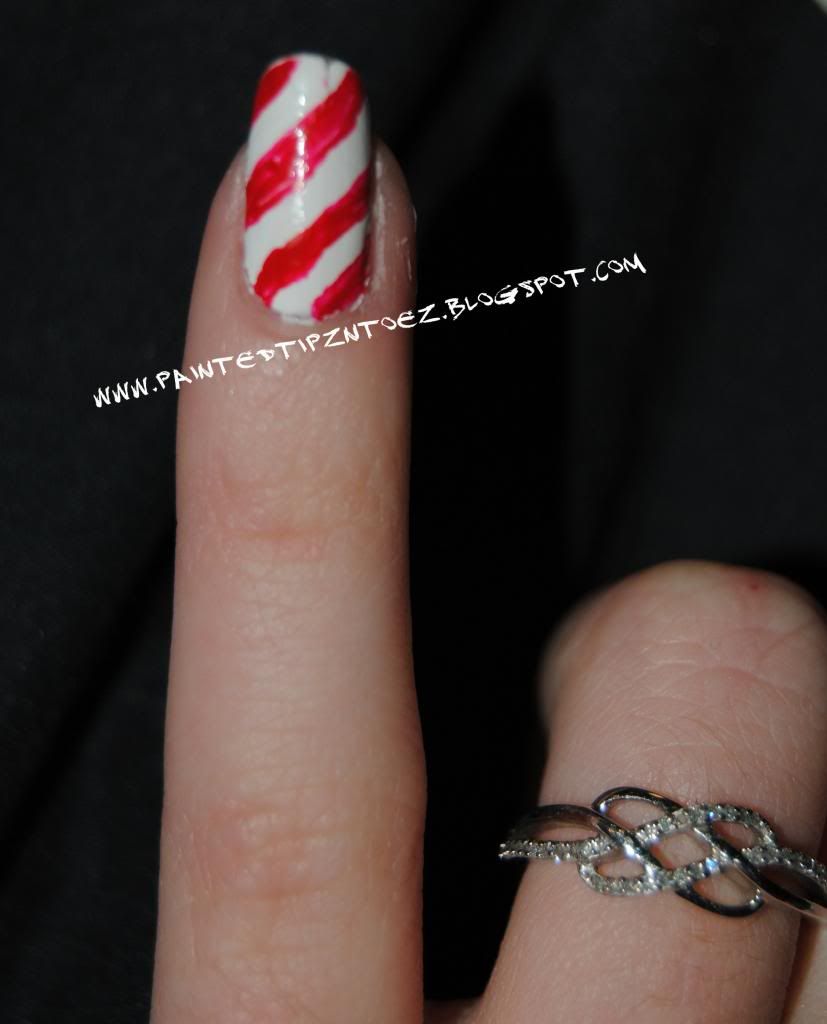
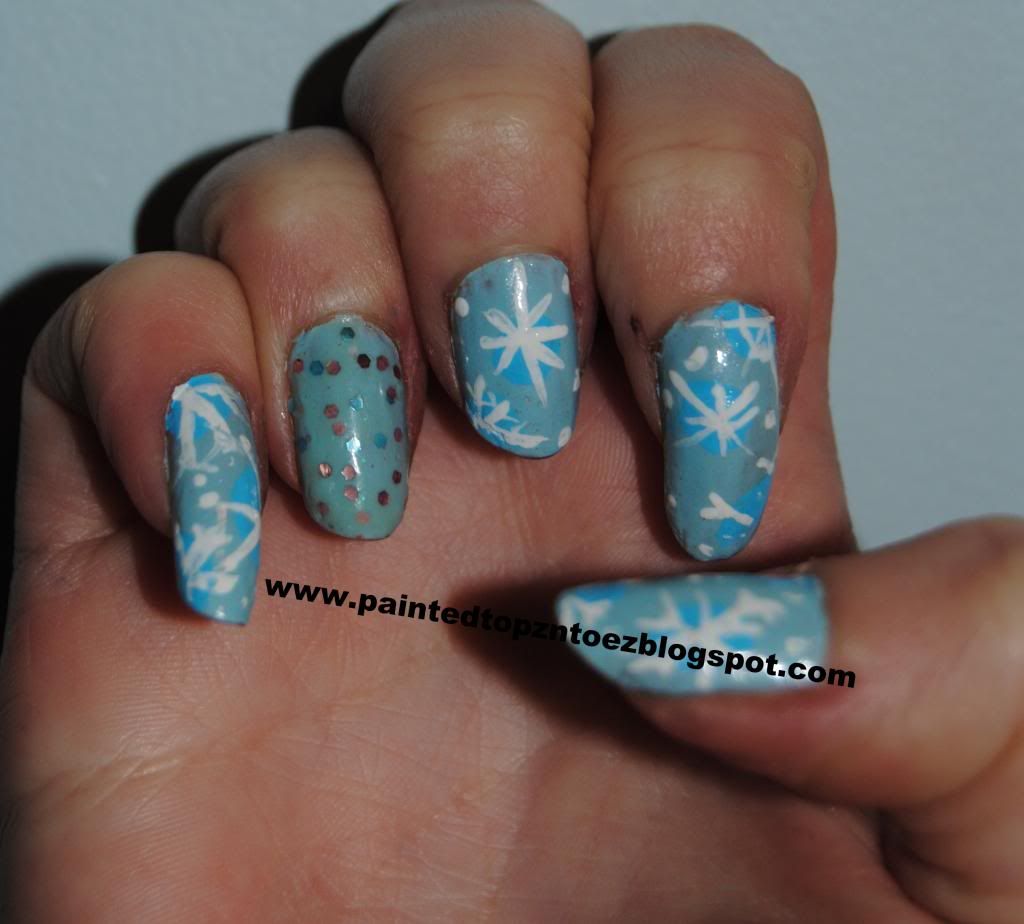
Friday, February 1, 2013

More Snowflakes!!!!!!!!!!!!

This is a little bit different then my other snowflake manicure. Since it's still snowing here....i dislike snow highly, I decided to put more snowflakes on my nail... It didn't help me like the snow anymore though.....


Colors I Used
"Water Fall" From Revlon, Acrylic White Paint, "Whimsical" From Revlon and a mixture of blue and white paint.
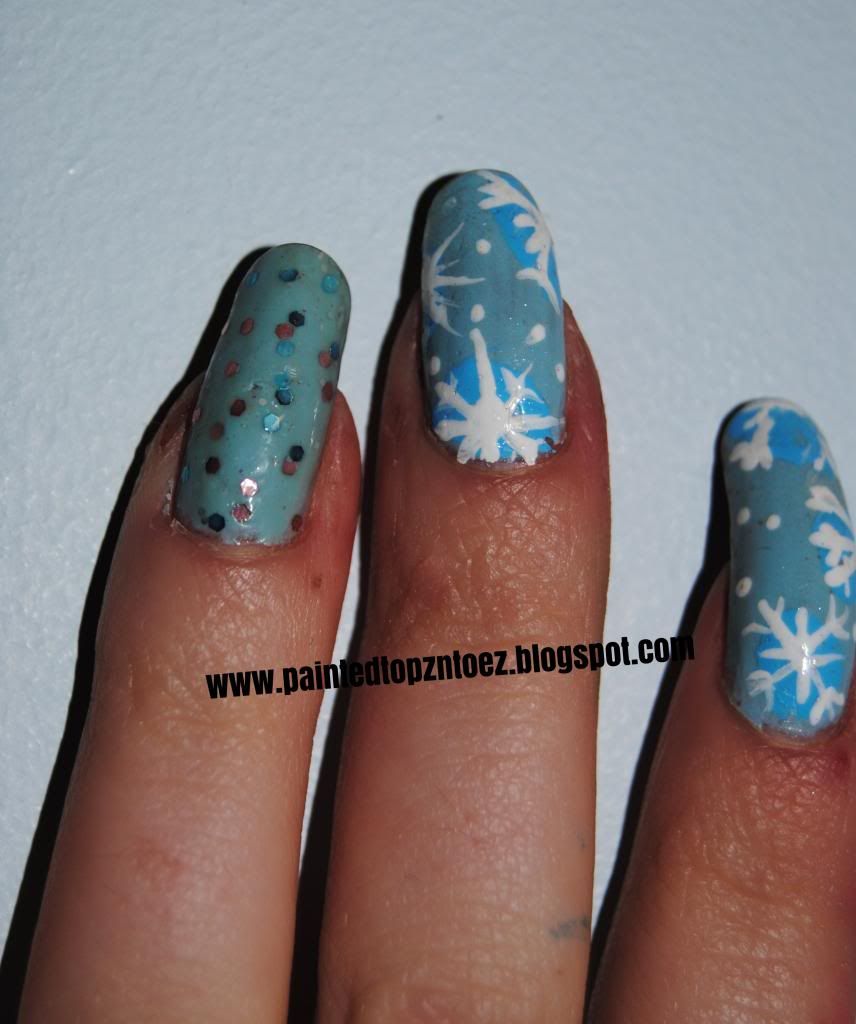


How I did it!!
First, I painted all my nail "Water Fall" for the base coat. For my Index finger I added two coats of "Whimsical" making this nail my accent nail. For my other nails mix together some bright blue and white acrylic paint. Then, I took my dotting tool and made larger dots of the medium blue paint. I think i paint about 3 for each nail. Once, all the dot had dried I used a fine tip paint brush to create large snowflakes in each of the dots. I also, took my dotting tool and place smaller white dots just to jazz it up a bit. After all the nails had dried completely I added a thick top coat and ta-da a super cute winter manicure!!!

XOXO's
Stay Warm,
Sierra

Wednesday, January 2, 2013

New Years NAILS!!!

News years is here!!!! Hope every one had a great New Years!!! I can't wait to see what God has instore for me this year!!!


XOXO's,
Love and Nail Polish,
Sierra

Monday, December 24, 2012

RED Christmas inspired French Manicure!!

I didn't want to a whole bunch on nail art for this manicure. However, I didn't want something normal. So I ended up deciding on a glamed up french tip!!!!


Xoxo's
Love and Nail Polish,
Sierra

Saturday, December 15, 2012

Christmas Trees!! Birthday Manicure!!!

For my birthday/Christmas manicure I decided I wanted something neat, whimsical and cute.
I did a lot of thinking, and looking for designs and I found this one!!!
This is definitely on my favorites manicure list!


How I did it:
For the tree nails I started with a white base coat. Then using acrylic paint I placed red, lime green and dark green dots in a tree shape. Once the dots dried, I placed white dots in the middle of some of the color dots. This step is up to you I just thought it made the design a little cooler. Lastly I added a small tree truck and clear coat.
For the Snow Flake Nails, I started with a red base coat. Then using a dotting tool I made three large circles. When the circles dried completely I used my fine tip paint brush to paint random snowflakes over the circles. When all of the polish was completely dried I painted a think clear coat to insure none of the acrylic paint flaked off. I absolutely loved this manicure, it was cute, fun and exactly what I wanted for my birthday mani
Xoxo's
Love, Nail Polish and Christmas Time,
Sierra

Monday, December 10, 2012

Oh Chirstmas Nail Oh Christmas Nails How Lovely are Your Designs

I love doing Christmas nail art!! It is definitely one of my favorite times of years to break out all the awesome nail art I can think of!!!


XOXO,
Merry Christmas,
Sierra

Tuesday, December 4, 2012

First Christmas Manicure!!!

Well, this manicure isn't quite Christmas-y but I've been dieing to use the polish "Sugar Plum Fairy." So, this is what I decided to do!!


XOXO's
Love and Nail Polish,
Sierra 

Friday, November 16, 2012

Barn Dance

Last weekend, Isaac and I went to a barn dance, hosted by my home school group. The dance wasn't much to talk about (it was quite boring.) But, I did want to show you all a picture of my clothes! My nails were done in the second layering technique. I didn't have time to change them :( But I did love my outfit!!

 
My Handsome, Man


:)
 
I told him that if he makes this face again, I might stop kissing him, hehe!!
 
He make me one happy girl!!


XOXO's,
Love and Nail Polish,
Sierra