Showing posts with label Easy Nail Art. Show all posts

Saturday, September 8, 2012

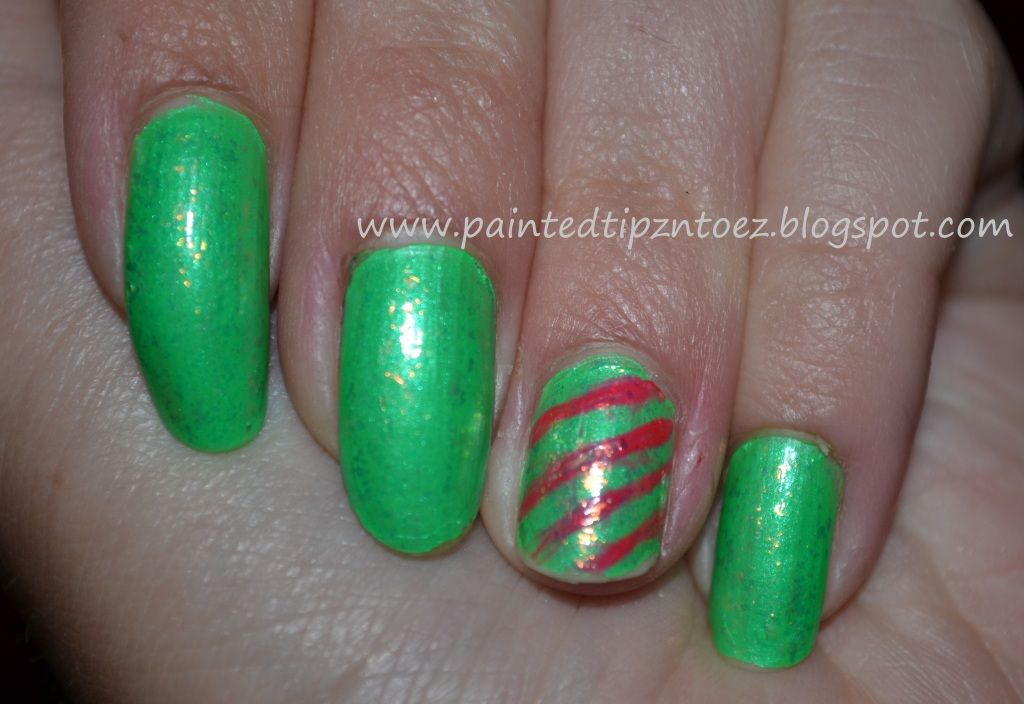
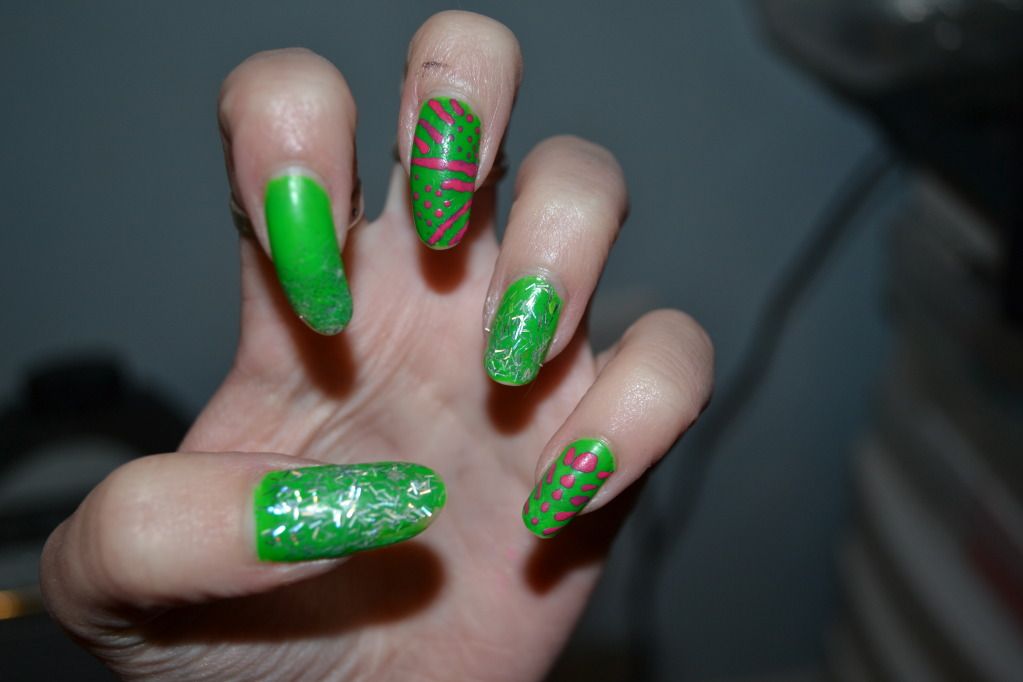
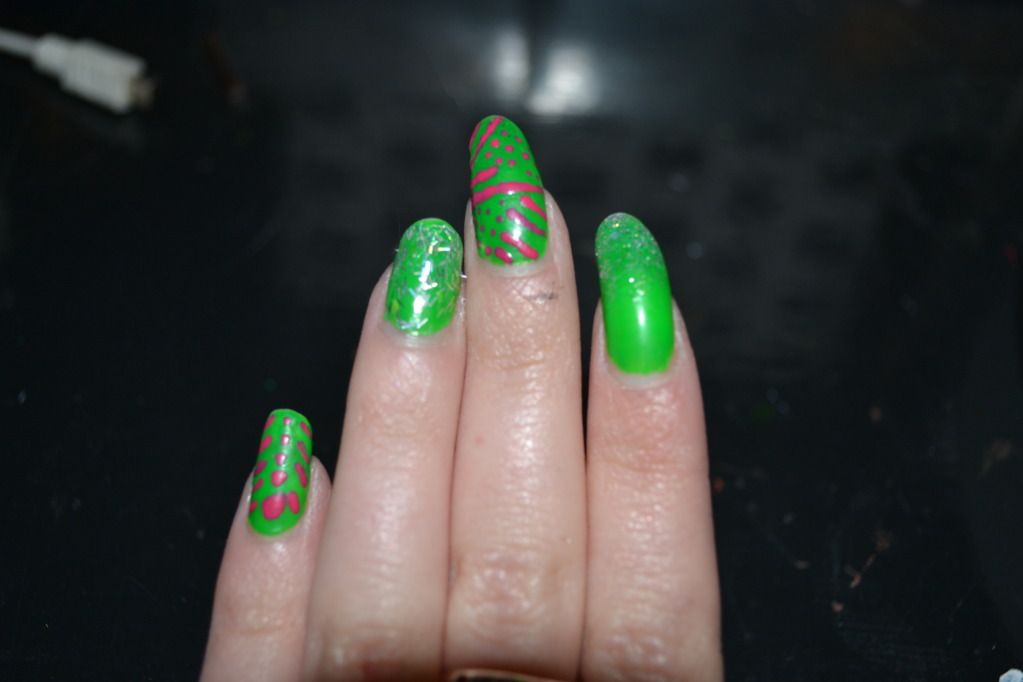
Green, Pink and SPARKLE Mani


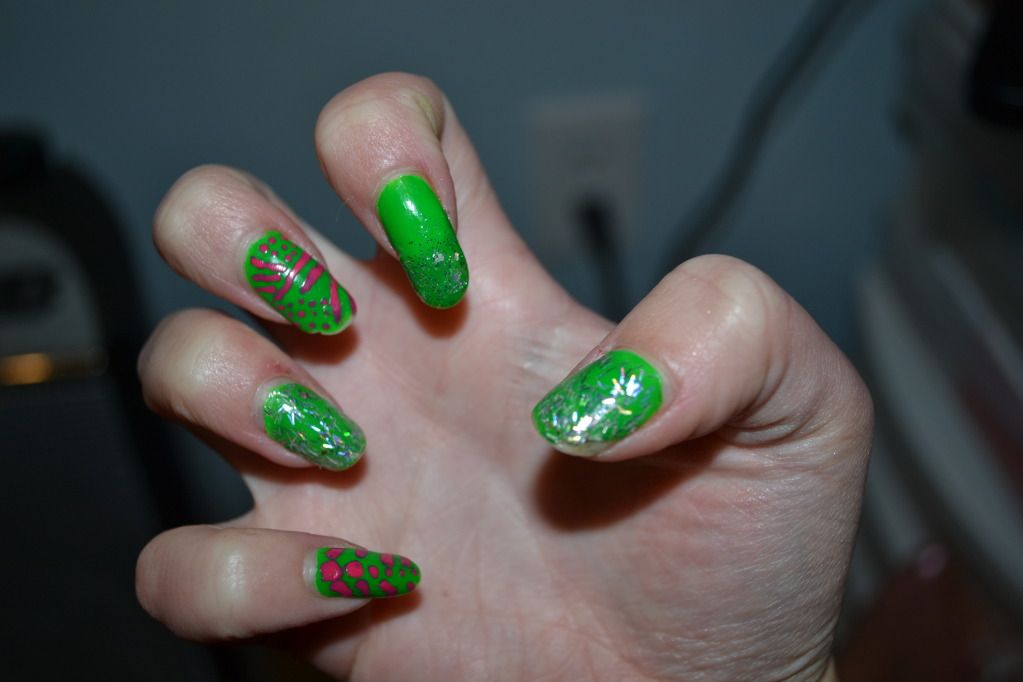
This week I knew I wanted something bright, fun and quick. So I decided to do a simple green mani. But, of course I couldn't go just green so I added glitter polish to 3 of my nails. Then, I decided that still wasn't enough so I got my pink polish and dotting tool and started making lines a dots and TA-Da! This is what happened! I thought this mani was super cute and I really liked the design I painted on my middle nail. I definitely might uses this design again!


Colors I used!
Base Coat: "Neon Green"- Kleancolor
Index: "Neon Green" with "Sparkle"- Revlon
Middle and Pinky: "Neon Green" with "Flirt Alert"- Pure Ice,
Ring: "Neon Green" with "Grand Finnal"- Kleancolor,


XOXO's
Love and Nail Polish,
Sierra

Wednesday, July 18, 2012

"In the Lime Light (Neon)" from China Glaze


Colors I Used:
Base Coat: "In the Lime Light (Neon)" from China Glaze, and "Shine of the Times" Essie Luxeffect
Accent Nails: Pink striper from Stripe Rite


I bought "In the Lime Light (Neon)" from Sally's, for about 4.00$ This polish is an nice vibrant bight green. I really liked the brightness of the polish. However, The polish also had a matte finish,I'm not a huge fan of matte polishes but that was easily fixed with a top coat. "In the Lime Light" was fairly opaque and the brush was great. I added a Essie Luxeffects as my top coat and some pink, just because I can't stand a plain mani haha. I loved the color and can't wait to use it again. Xoxo's Love and Nail Polish, Sierra

Sunday, July 15, 2012

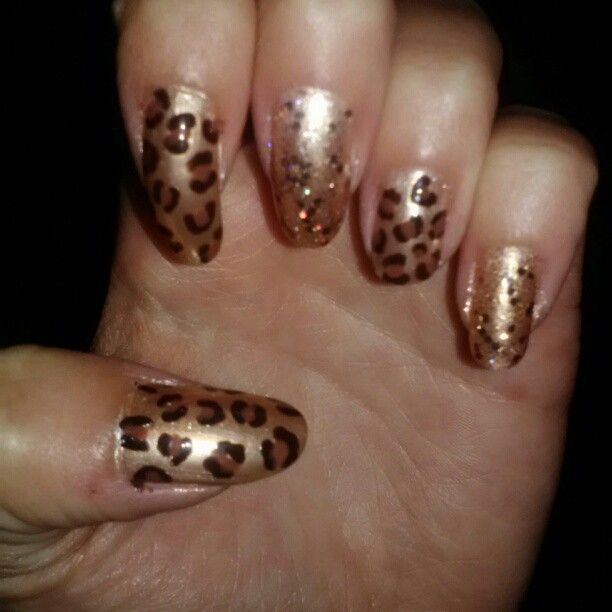
Cheetah!!!

I left for a 3 day get away, shortly after I did this manicure.
So I ended up taking the picture with my phone. Sorry for the poor quality.

I loved the way this manicure turned out! If you have read my blog before you will know how I do my cheetah print. Then, all I added was some sparkles!!!!!

Base Coat: 2 coats of "Gold Dust" and "Best Friend" from Pure Ice
Cheetah Print: "903 Hot for Chocolate" and "415 Totally Toffee" from Revlon
Sparkle Nails: "Spit Fire" Pure Ice, "Set the Stage" from Sally Hansen, and
"Traffic-Stopper Copper" from Sephora by OPI

XOXO's
Love and Nail Polsih,
Sierra

Thursday, July 12, 2012

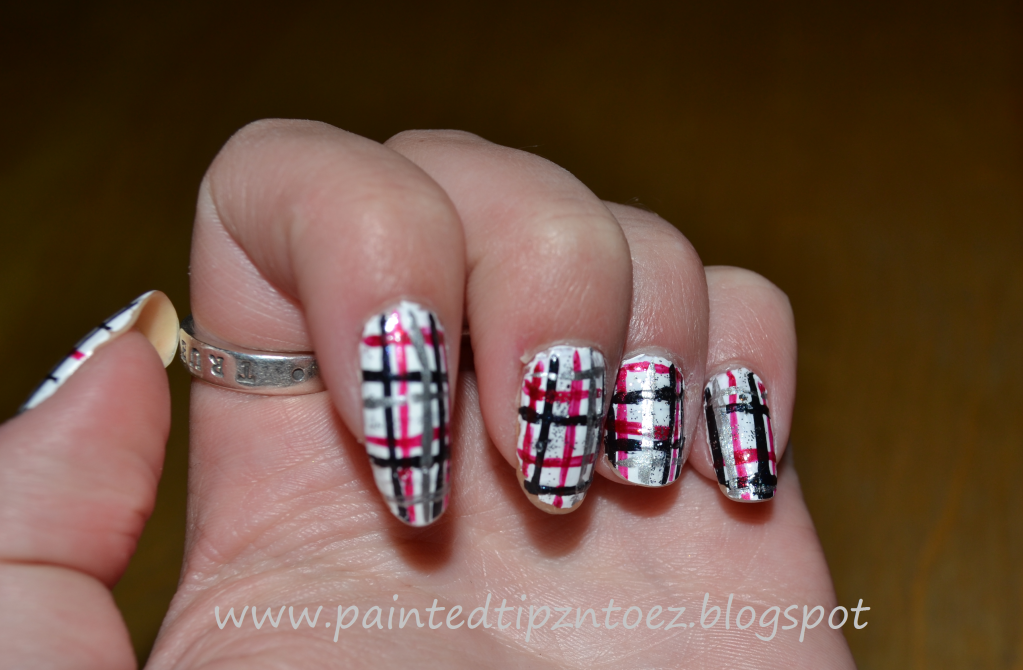
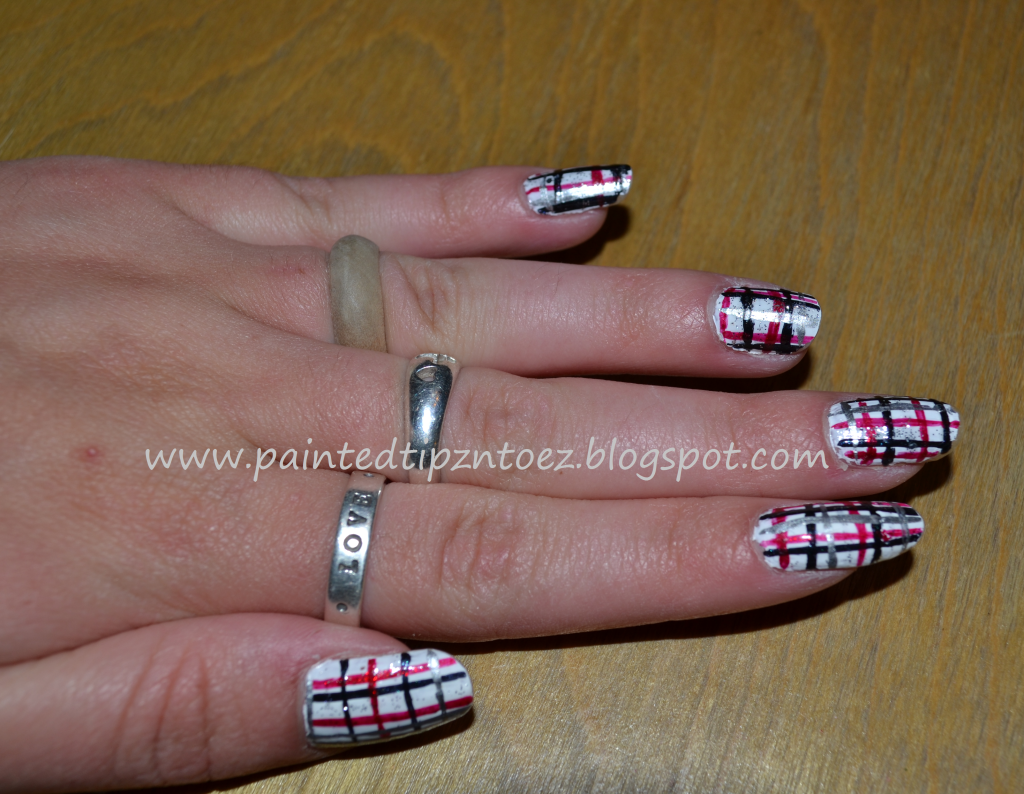
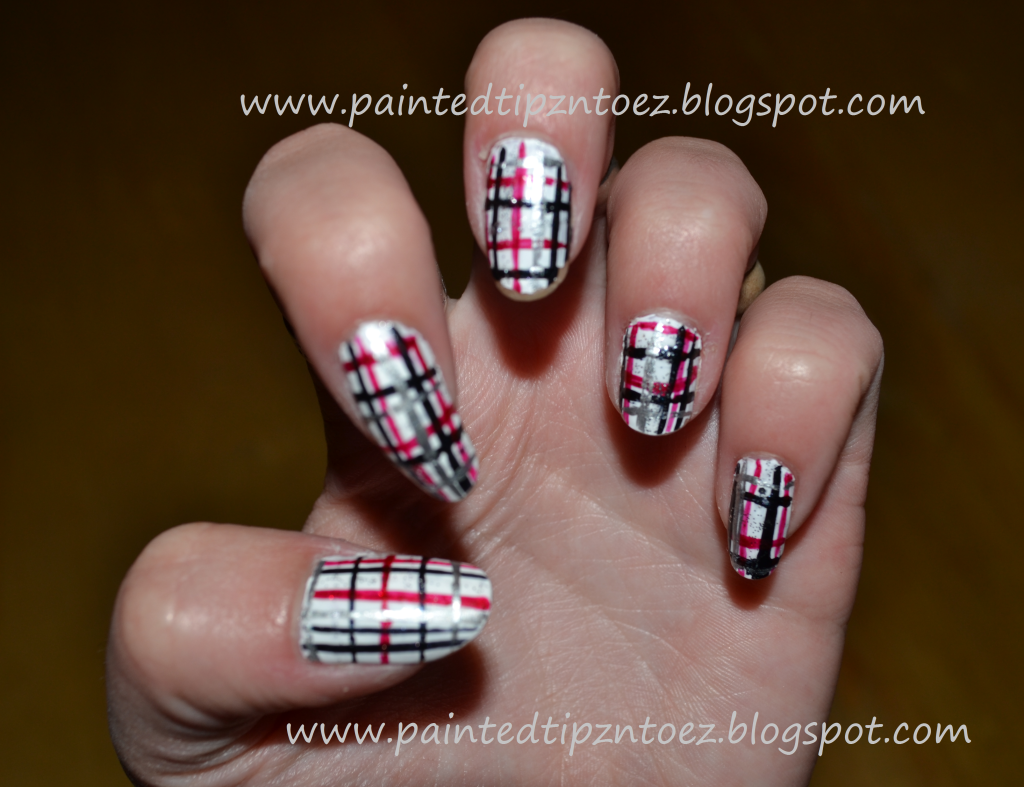
Plaid

Ok, so my oh so sweet boyfriend bought me the cutest pair of shoes last week!!!


Are they not cute?

Well the mani was inspired just by the shoes! I love the way they looked and was very please!


Colors I Used:
"134 French White Tip" and "Chelsea" from NYC,
"Silver Mercedes" from Pure Ice,
"Pearl Black" and "Rock Star" from L.A Kiss Nail Art.


XOXO's
Love and Nail Polish,
Sierra 

Saturday, July 7, 2012

Pink N' Black

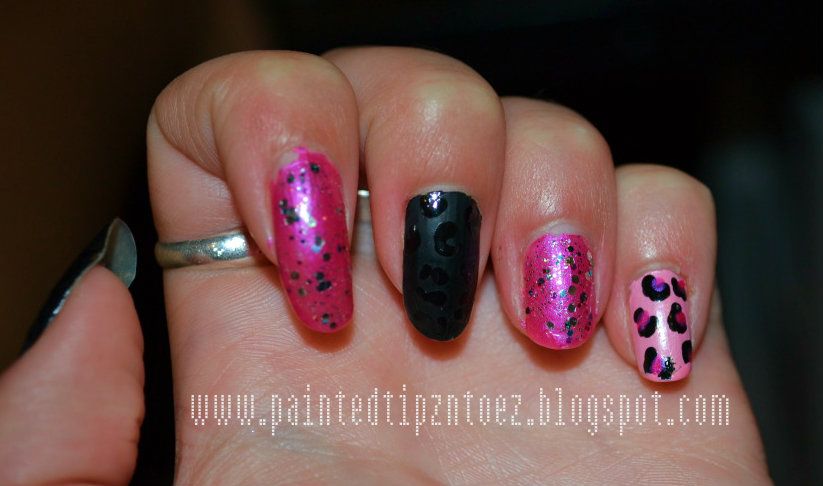
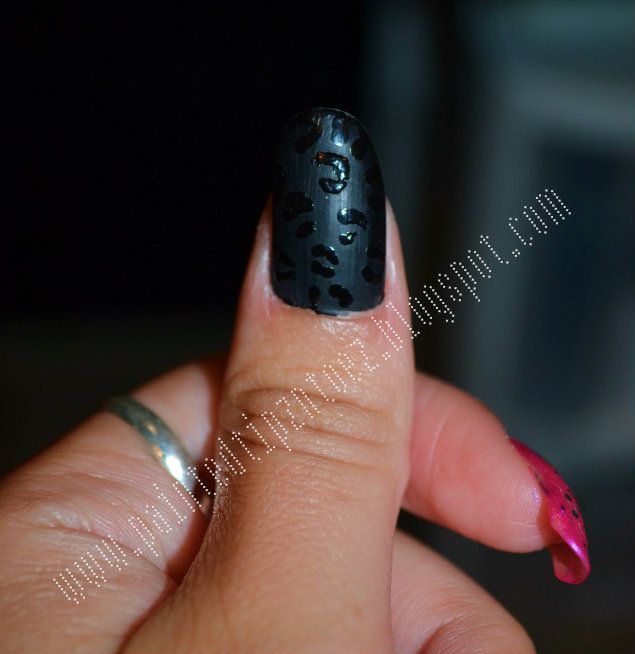
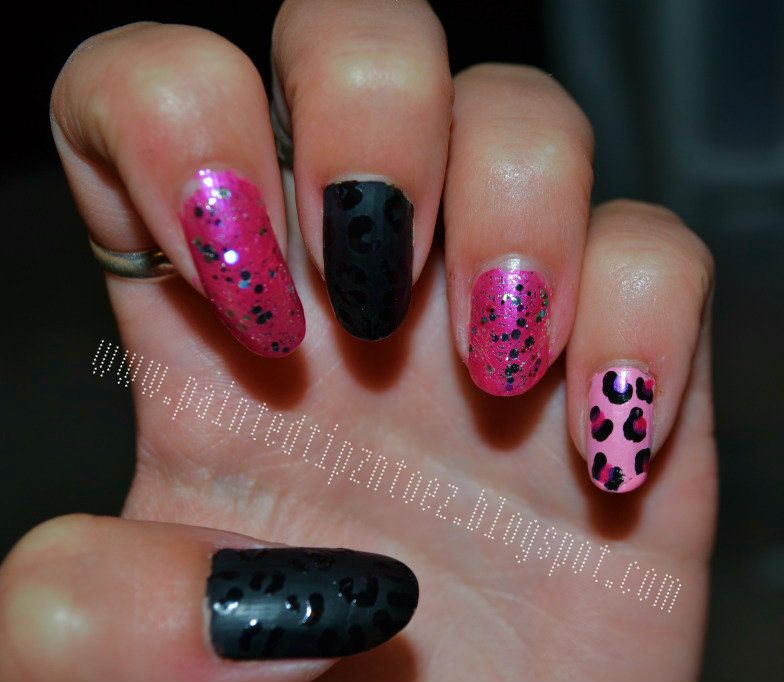
So my pink and green mani didn't last very long. After, a few days I was ready for somewhat of a change. I decided to change only my thumb and middle finger nails. To change them I painted my nails two coats of "Black Heart" from Sally Hansen. Next, I added a coat of "Mattly in Love" this gave my nails a matte finish. For the design I used my dotting tool and "Black Heart" to create a cheetah print design. This was quite a different look from my bright pink and green mani a few days ago. But I thought it was quite cute.


Colors I Used:
Thumb and Middle: "Black Heart" from Sally Hansen and "Mattly In Love" from Hard Candy
Index and Ring: "Free Fall" from Pure Ice, "Sparkle" from Revlon and "Party of Five Glitters" from Wet N' Wild
Pinky: "Love" and "Free Fall" from Pure Ice and "Black Heart" from Sally Hansen


XOXO's
Love and Nail Polish,
Sierra

Thursday, July 5, 2012

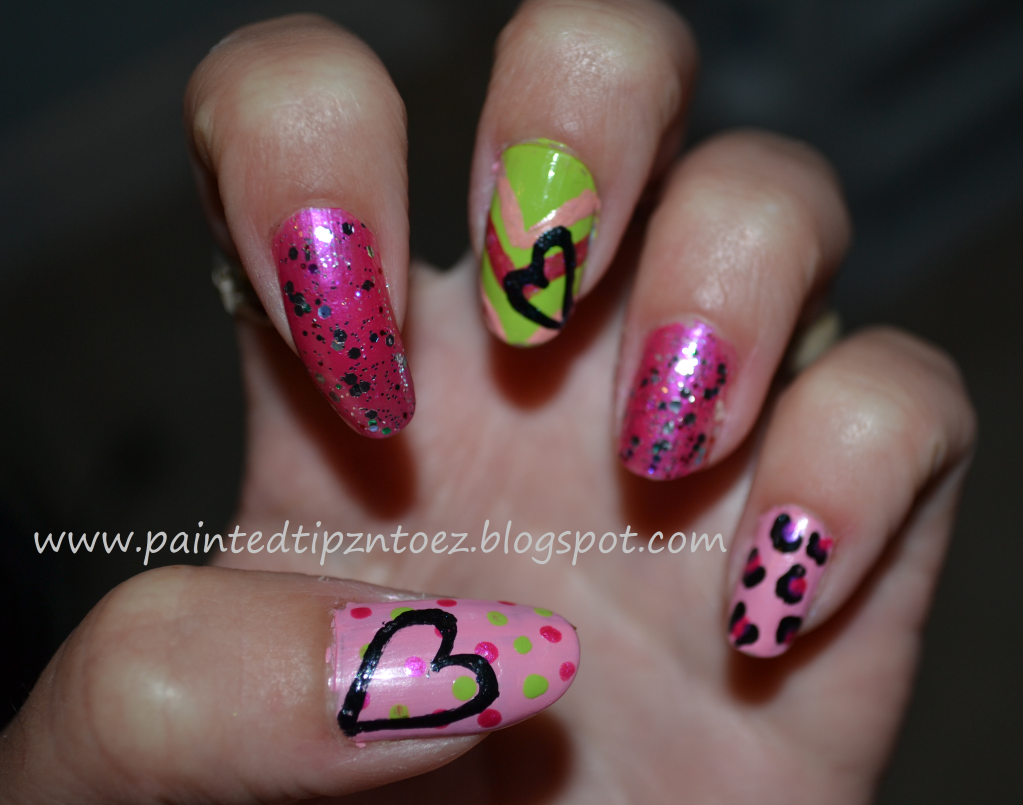
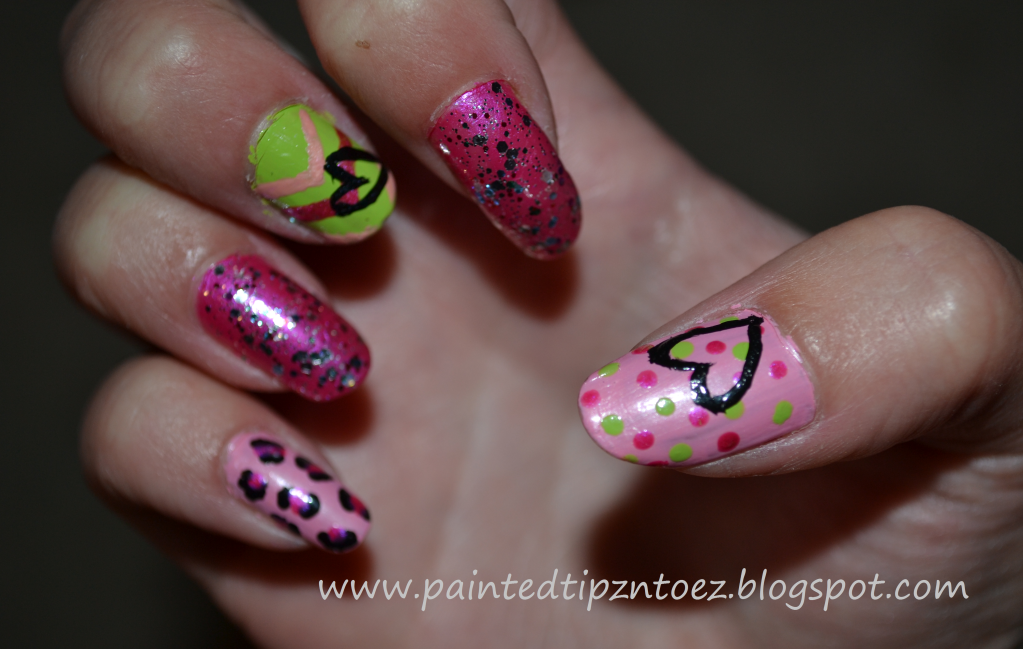
Pink N' Green


This week I was in a Pink mood once again. However, I didn't want just pink so i decided to jazz it up with some lime green and black!


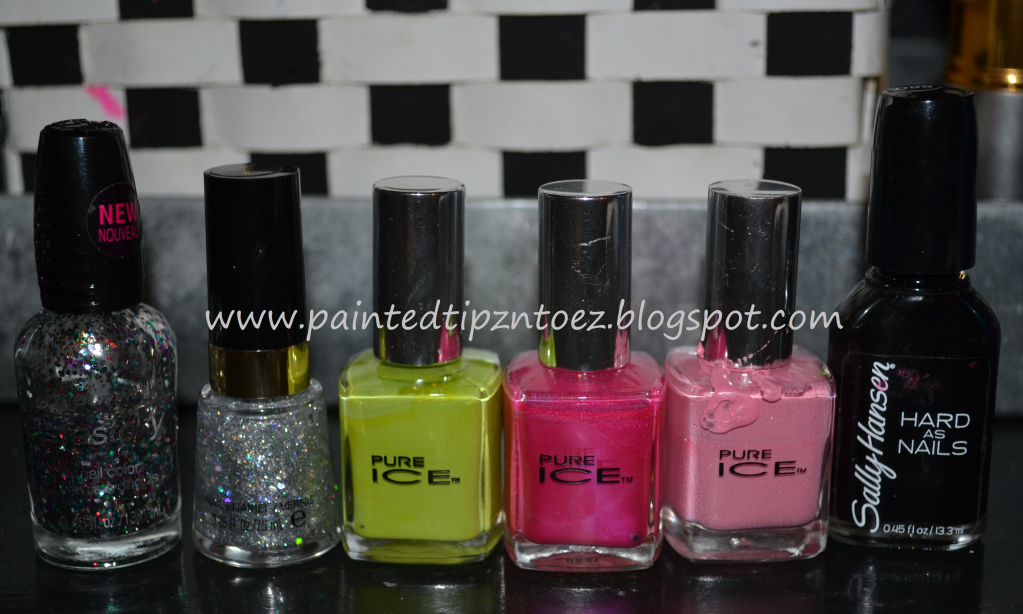
Colors I Used:
Thumb: "Love," "Free Fall" and "Wild Thing" from Pure Ice and "Black Heart" from Sally Hansen
Index and Ring: "Free Fall" from Pure Ice, "Sparkle" from Revlon and "Party of Five Glitters" from Wet N' Wild
Middle: "Wild Thing," "Love" and "Free Fall" from Pure Ice and "Black Heart" from Sally Hansen
Pinky: "Love" and "Free Fall" from Pure Ice and "Black Heart" from Sally Hansen


This was super simple and I love the way it turned out!

XOXO's
Love and Nail Polish,
Sierra

Thursday, June 7, 2012

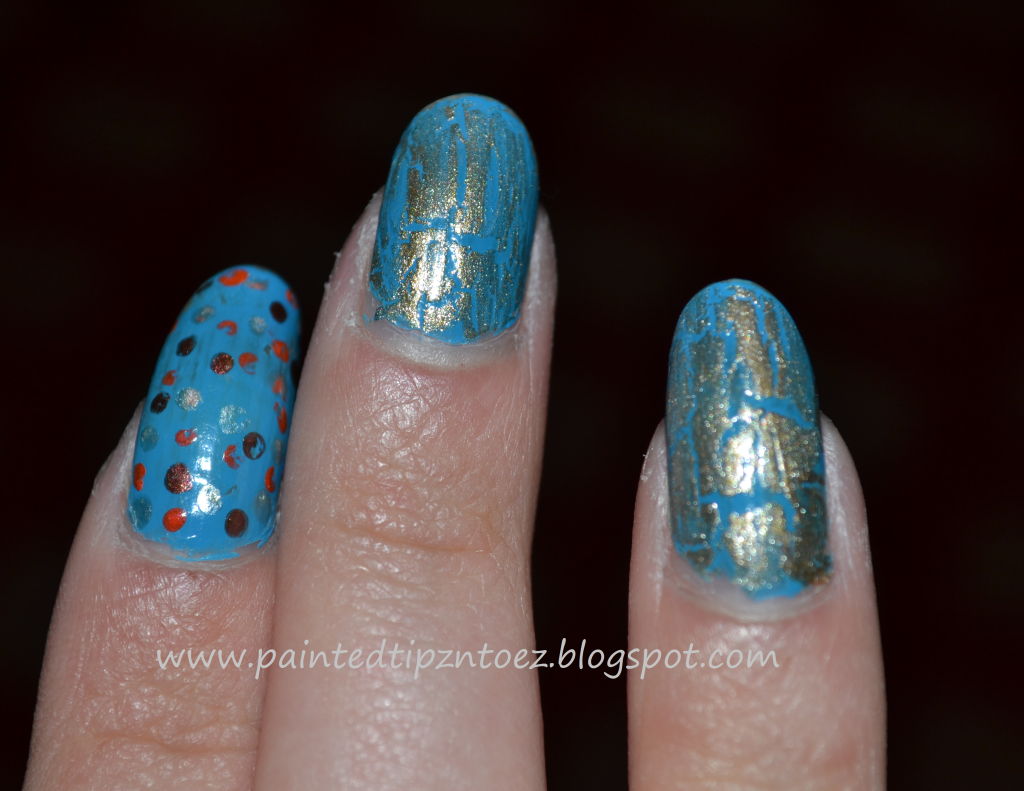
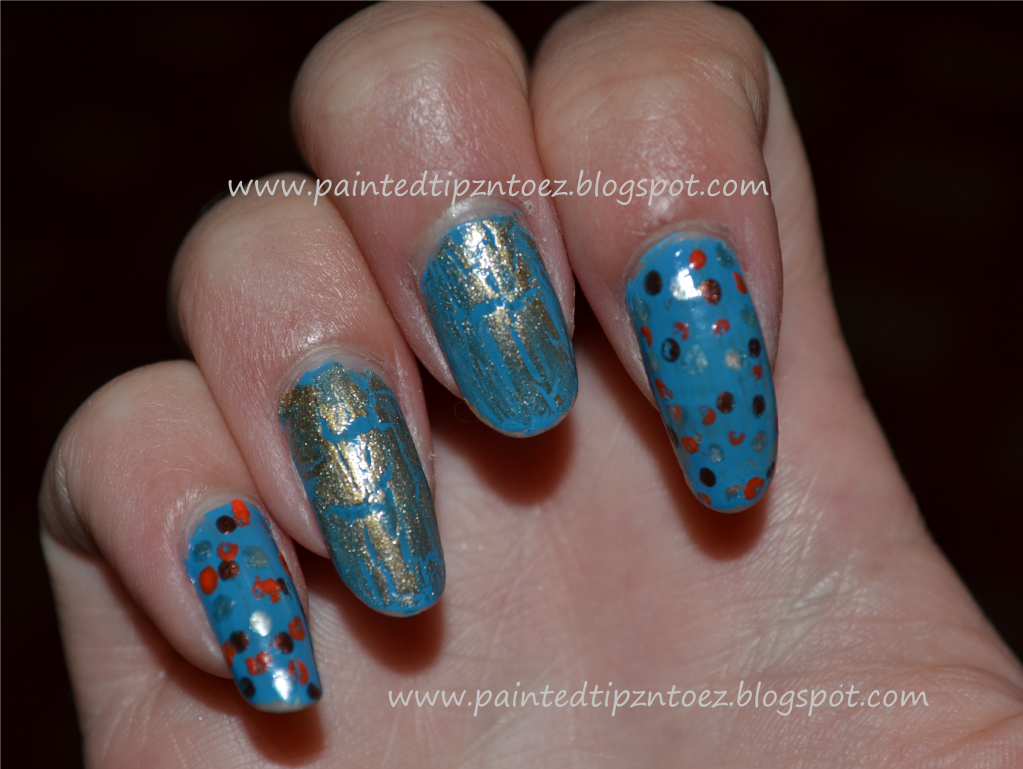
Nails for my Cousin's Wedding!!!


This weekend I attended my cousin's wedding! I wore the same dress I wore for my boyfriend's graduation. But I wanted a different nail design. So this is what I came up with. This design is super cute, very easy and I received lots of compliments.


Base Coat- "Blue Collar" from Orly Index, & Pinkie Finger- "Magic" and "Best Friend" from Pure Ice and "Bright Orange" from Fine Tip from L.A Color.
Thumb, Middle and Ring Finger- "Cracked Gold" from Salon Perfect


XOXO's
Love and Nail Polish,
Sierra

Sunday, May 27, 2012

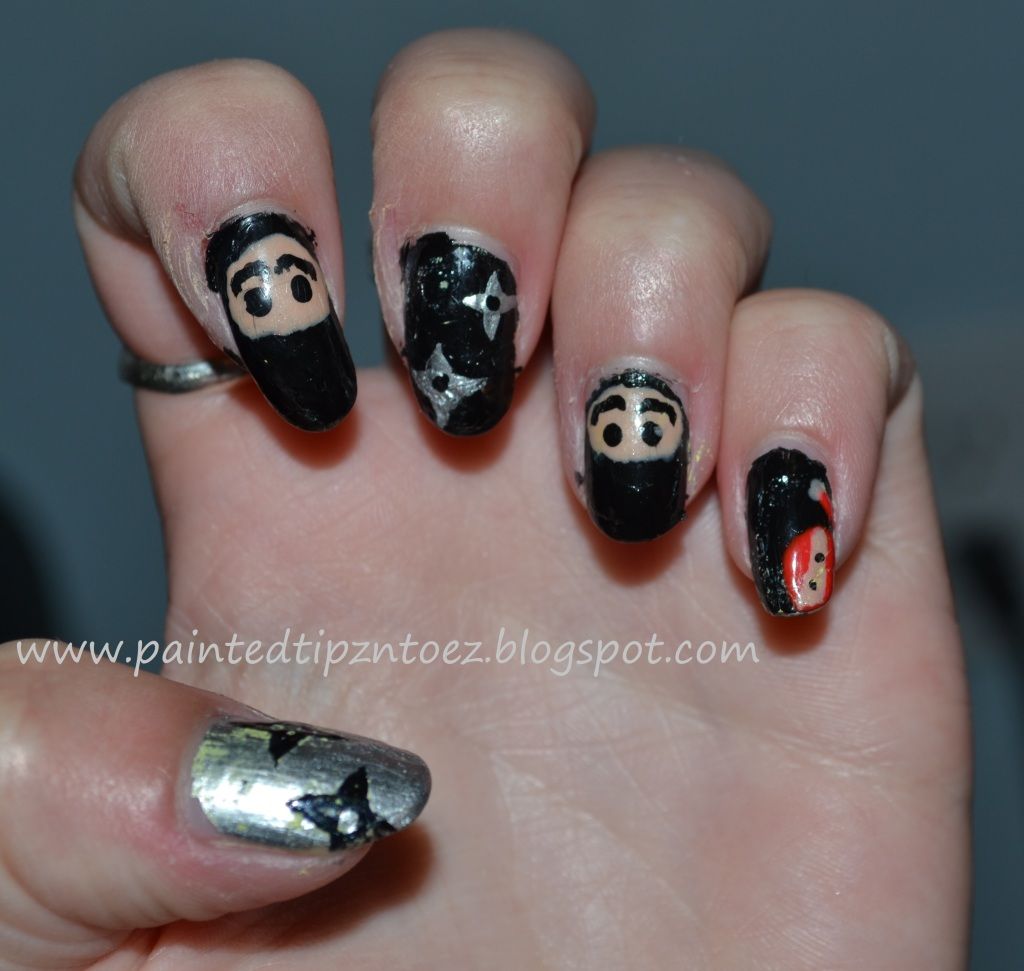
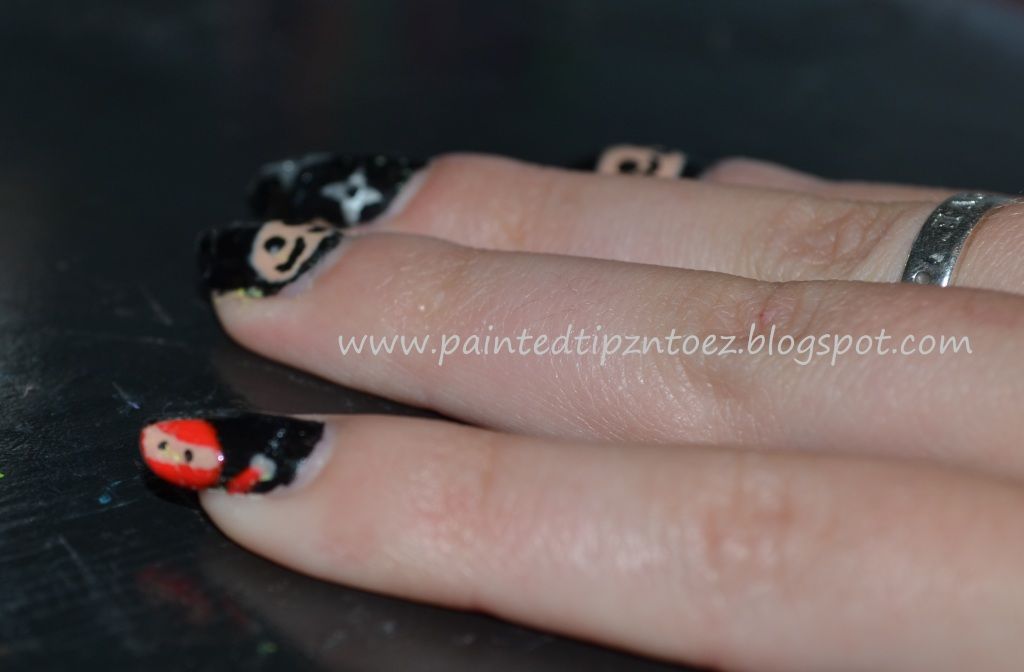
Ninja Nails


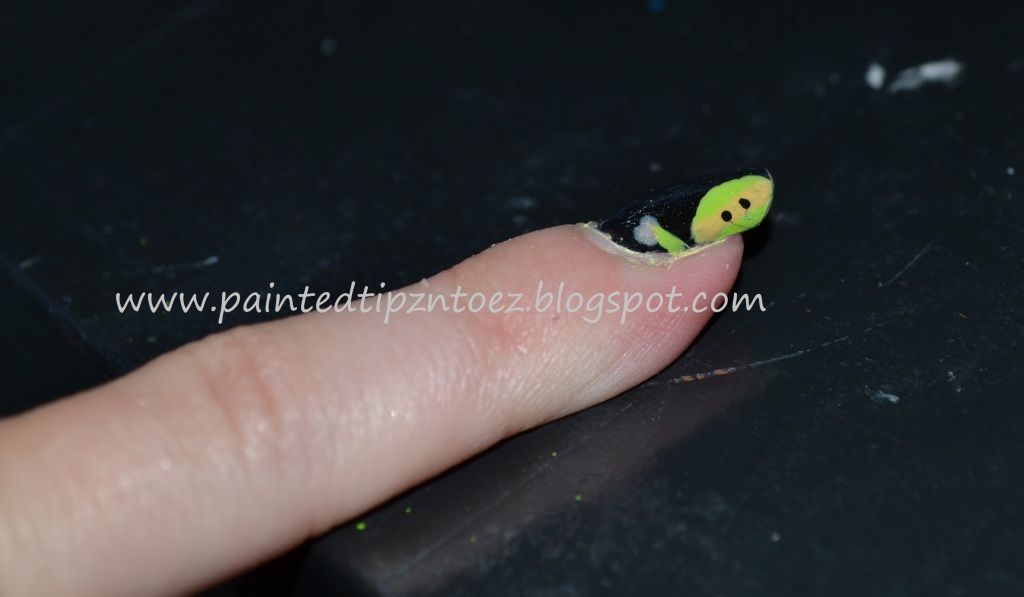
This week I wanted a cute and fun mani. After, racking my brain for something fun. I decided to do Ninja Nails! I have wanted to do this design for a while but never got around to it. But this week it was time to break out my ninja nails.
This mani was super easy!!! My favorite nail was my pink ninja.


My Pink Ninja! This was my favorite nail!
Colors Used:
Base Coat: "Silver Mercedes" from Pure Ice and "Black Heart" from Sally Hansen
The Ninja Faces: "Sunset Sail" from China Glaze
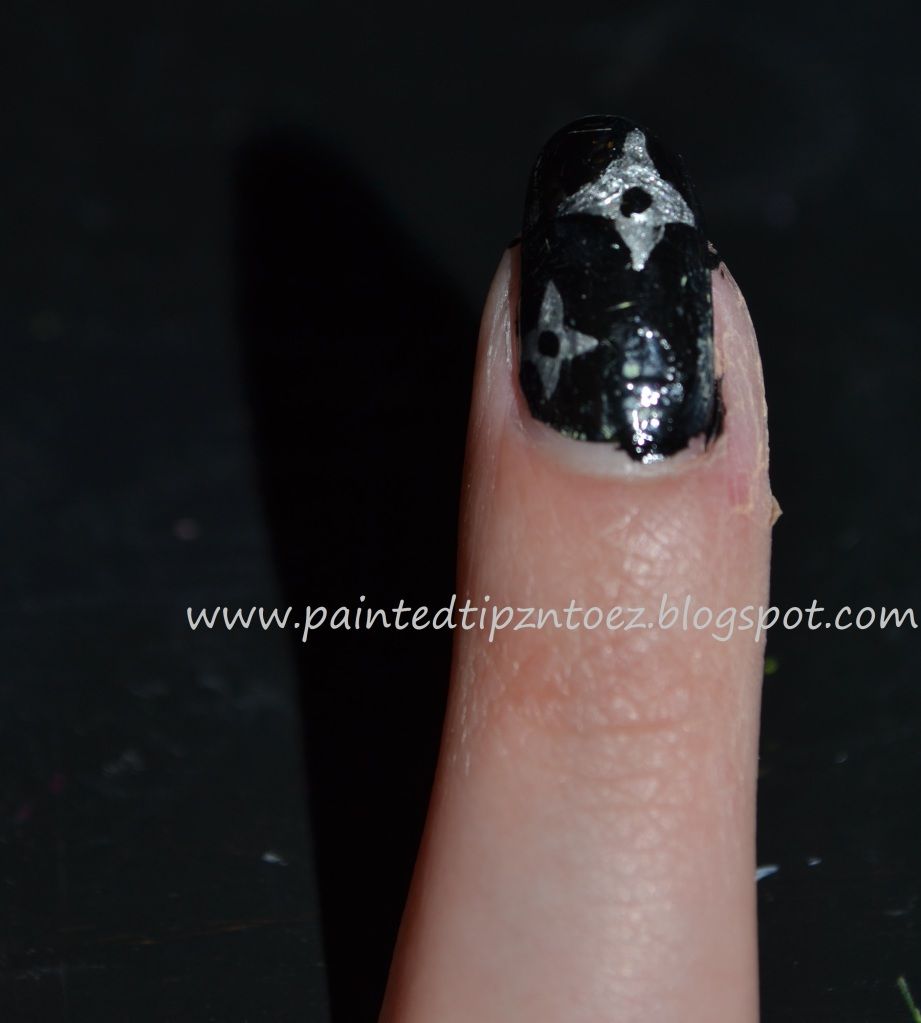
Ninja Stars: "Silver Mercedes" from Pure Ice and "Black Heart" from Sally Hansen
Ninjas on my Pinkie Finger: Pink Striper from Stripe Rite
"Rock Star" from Kiss Nail Art Paint,  "Wild Thing" from Pure Ice and "Sunset Sail" from China Glaze


Ninja Stars

My Green Ninja :)

Xoxo's
Love and Nail Polish,
Sierra

Sunday, May 13, 2012

Peach Nails with Nail Art


Colors I Used:
Thumb and Pinkie- "Mighty Mango" Sally Hansen
Index and Ring- "Dreamy" Pure Ice
Middle- "Portobello" from Nails Inc.

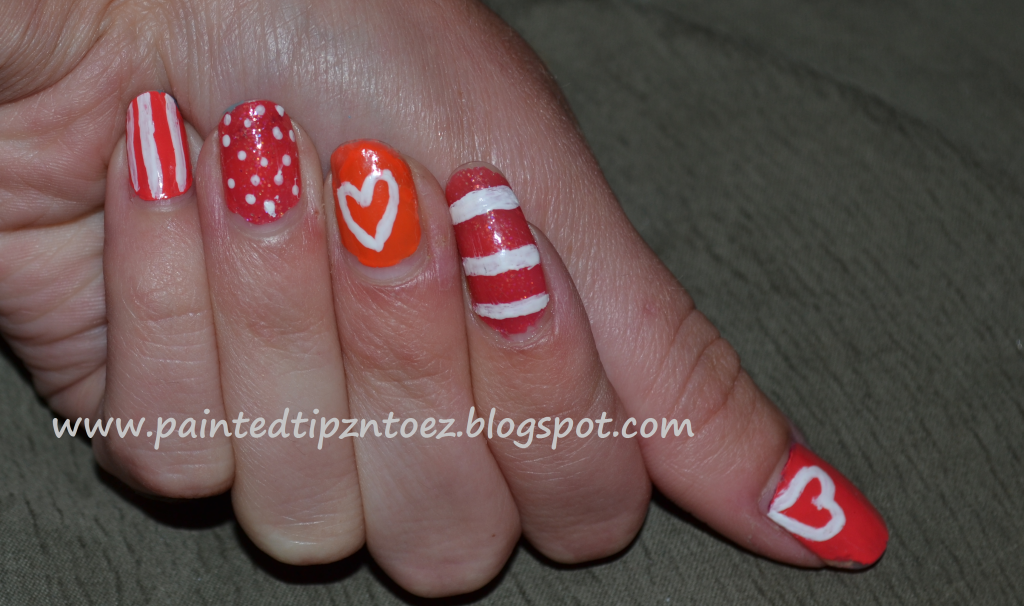
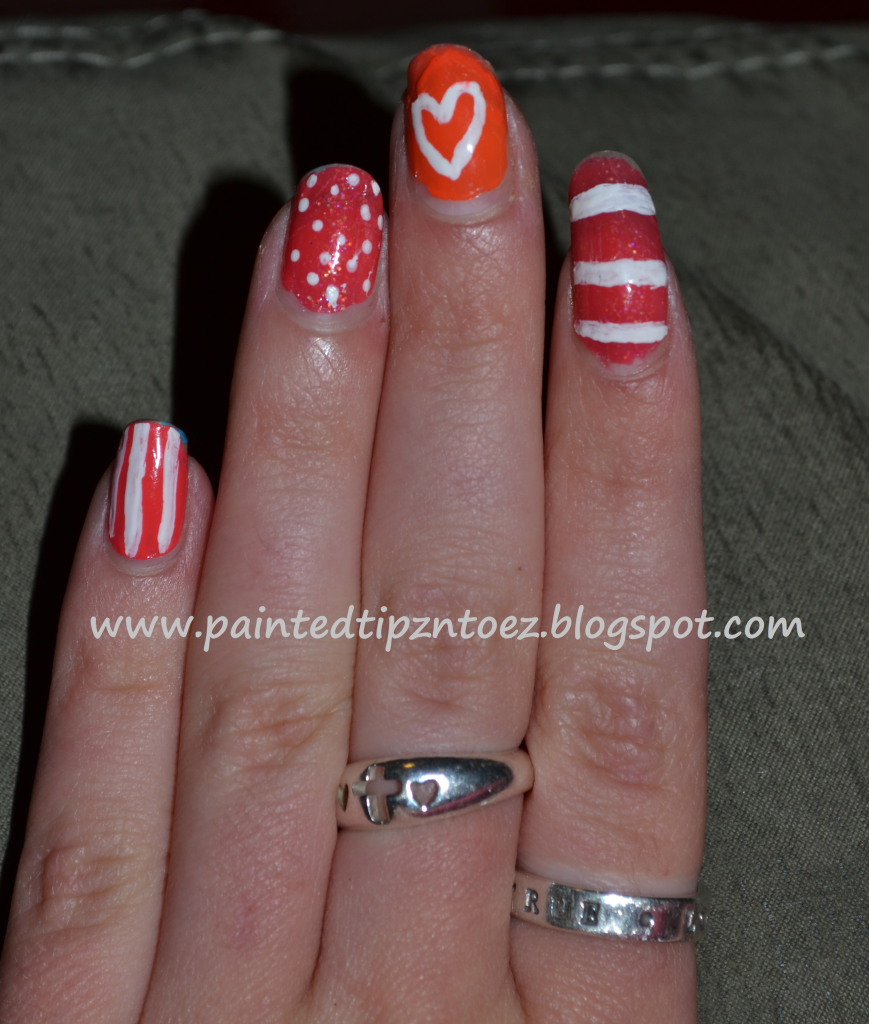
This week I wanted a simple but cute mani. Since I am currently, slightly obsessed with "Portobello" from nails inc. I decide to use three colors "Portobello" being one of them. For my thumb and pinkie finger I used "Mighty Mango" from Sally Hansen. For my index and ring finger I used "Dreamy" from pure ice and "Portobello" for my middle finger. All of the polishes looked very similar so they worked nicely together. I decide to paint all my designs in "French White Tip" from NYC, which is just a white polish. This way all my nails would tie in together. For my thumb and index nails I painted a heart. Then for my ring, pinkie and index nails I painted dots and stripes. Over all this mani was simple an easy but very cute!!
XOXO's
Love and Nail Polish,
Sierra

Friday, April 20, 2012

Pirate Nails

Last week I decided to have a pirate themed movie party! I knew I need something fun and festive for my nails, so I decided to add some pirate flair to my nails.


Colors I Used:
Map Nails-  "Best Friend" Pure Ice, "Pearl Black" Kiss Nail Art, and "Primary Color" Finger Paints
Skull and Cross Bones- "Electric!" Pure Ice, and "134 French Tip White" NYC
Pirate Face Nails- "Best Friend" Pure Ice, "134 French Tip White" NYC, "Primary Color" Finger Paints and "Pearl Black" Kiss Nail Art,

How I Did It:
I think the Map nails, explain them self. I used my fine tip paint brush for all of the details and I thought these turned out great!
The Skull and Cross Bones were a little more difficult. I used my dotting tool and kept working at the shape of the skull till I thought it looked right. For the Cross Bones I painted an "X" then with my dotting tool added two dots and each end of the "X." This design was really simple you just have to work at it will you get the shape correct.
For the Pirate Face nails, I started by painting it the base coat. Then I add a thick, red stripe to 1/3 of my nail. This will become the bandanna of the pirate. Once, the red had dried I add some white dots with my dotting tool. I add to black eyes and a reddish/pink smile. For the nose of my pirate I used the same polish as my base coat but mixed it with some white polish. The Pirate face was a little hard but looked super cute when I done. Over all this was on the moderate scale for nail design. I had a lot of fun with it and really liked the way it turned out.
XOXO's
Love and Nail Polish,
Sierra
Thursday, March 22, 2012

Yellow and Black Crackle Tips

Hello my dear readers, sorry my slim blog posting lately. Life has been crazy!!!! Between my little sister being in the hospital, school, dance lesson and getting ready for prom, I have had very little time to write. However, I do have a few blog posts in mind. I just have to find some time to write them down lol.


Anyways, Back to the reason you all read my blog...Nails!! This week I wanted something Yellow and Black. After tossing around a few ideas I decided on something quick and easy but still cute! 

Colors I Used:
(Nameless) and honey yellow from L.A Colors, "Excuse Me" from Pure Ice and "Strobe Light" from Pure Ice Crackle

How I Did It:
Since I didn't own the shade of yellow I needed, I painted two coat of  the polish from LA Color under two coats of "Excuse Me" from Pure Ice. Once, that had dried completely I painted the tips of my nails in a diagonal shape using "Strobe Light" a crackle polish from Pure Ice. On my Index and pinkie finger I add a small cross-hatching design below my crackle tip. Over all the manicure took about 30min including drying time. It was super easy and turned out really cute.

XOXO's
Love and Nail Polish,
Sierra
Friday, March 2, 2012

Cheeteah Print Half Moon Nail Art

I have done a simple half-moon nail design before but this time I decided to take it up a notch. I went with a Red tip and a cheetah print half-moon. I love the combo and I think it looked really good together.


Colors I used:
Tip: "Crimson" from Pure Ice
Half Moon: "420 Copperglaze Platinum" "903 Hot for Chocolate" "415 Totally Toffee" from Revlon

How I Did It:
I started by painting my nails with two coats of "Copperglaze Platinum." Next I used notebook hole protectors, cut in half and placed them 1/4 of the way up my nail. This is not necessary, but it helps me get the curved line curved enough. After I made sure the sticker was adhered well, I painted two coats of "Crimson" making sure not to paint over the sticker. Once this dried I removed the sticker carefully. Make sure the nail polish has dried completely before removing it. Or the wet nail polish may smudge or come off with the sticker. Once the stickers are removed, I used "Totally Toffee" and "Hot for Chocolate" to paint a cheetah print design. To learn how to paint this design go to  http://paintedtipzntoez.blogspot.com/2011/08/cheetha-lioush.html it explains hot to paint this design. It is super easy. Over all this manicure is fairly easy and I loved the way it turned out.

XOXO's
Love and Nail Polish,
Sierra

Wednesday, February 22, 2012

Bordered Nail Design from Haute Lacquer


I have been following Haute Lacquer since I started my nail blogging journey last year. I love her graphic nail art and layering. I saw the boarding nail design a while back, but I didn't think I could do it well. However, I saw this post and loved the way it looked, so I knew I had to give it a whirl. The XOXO's definitely screamed me! Too check out the original design check out Haute Lacquers Blog - http://hautelacquer.blogspot.com/ She also has some other amazing post.

Colors I Used:
"Preal Black" Kiss Nail Art Brush, "Primary Color" Finger Paints,
"134 French White Tip" NYC

I liked it way it look, but definitely wasn't my favorite. I think my nails are a little too long to show how cool this design really looks. What to you think? Any suggest to get it to look better?
XOXO's
Love and Nail Polish,
Sierra

Monday, February 6, 2012

Striped Nails


Sorry for not posting lately, I've been super busy! School is crazy, my little sister has been in the hospital and honestly I haven't had time to blog. I have about three drafts in my post area but I just haven't finished writing them and uploading pictures haha. But I figured I write a quick post tonight. I am volunteering at a festival on Saturday and of the requirements are natural colored nails. They did not say any nail polish but did ask not to wear any bright colored nail polish. I thought about what designs I could do that wouldn't stand out to much but still not leave me nail polishless. I found a picture on pinterest with a four tone striped deign and I decided to recreate it. I started by painting my entire nail "Big Spender" which is the bottom stripe. Then I added the other polishes on top. This manicure was SUPER and I love the way it turned out!! No SUPER bright colors but still very cute.


Colors I Used:
Top stripe to Bottom- "Hot for Chocolate" from Revlon,
"Flower Girl" from SinfulColor over "Big Spender" from Pro. I also added some glitter hexs from "Set the Stage" by Sally Hanson
"Warm and Fozzy" from OPI
"Big Spender" from Pro


XOXO's
Love and Nail Polish,
Sierra