Showing posts with label Technique. Show all posts

Sunday, October 7, 2012

Layering Technique


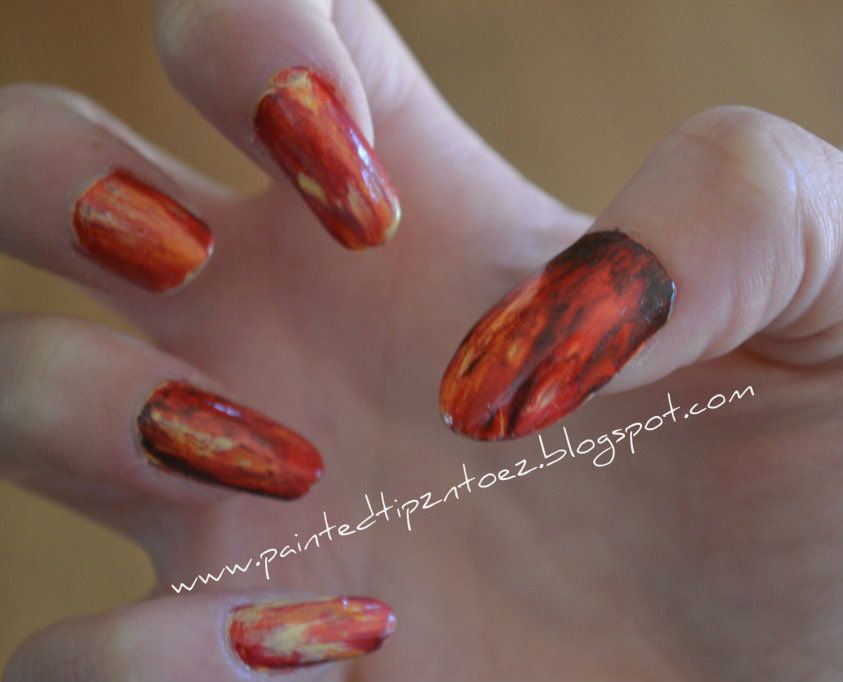
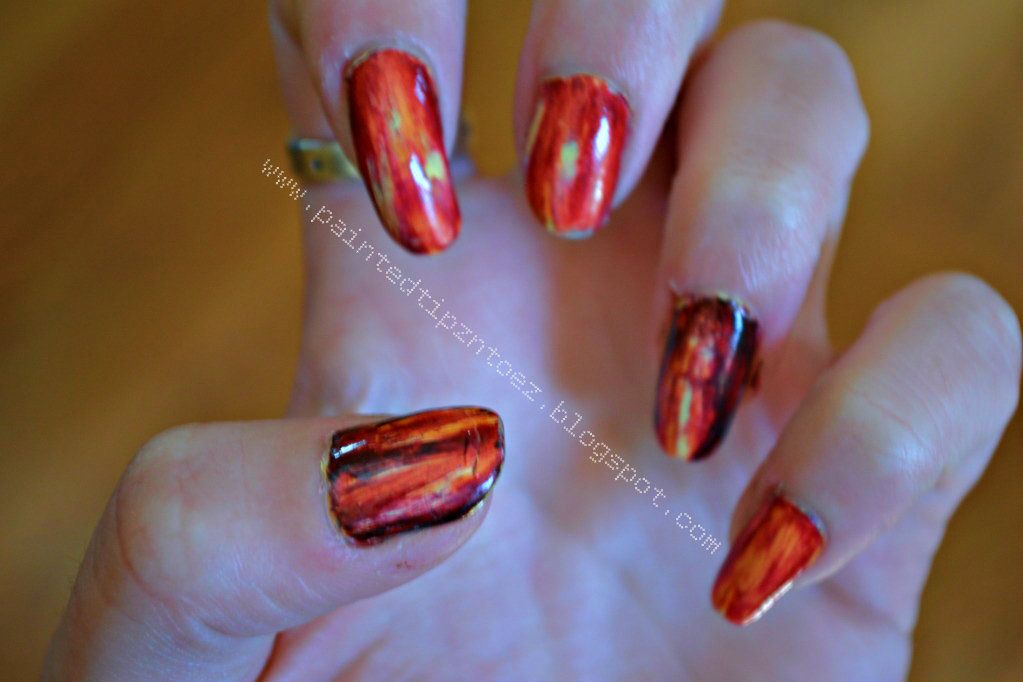
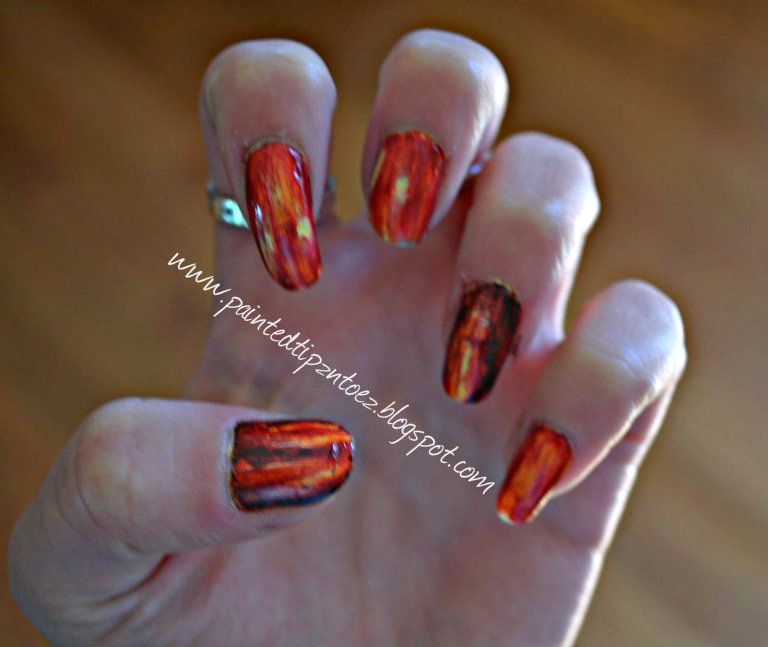
I saw an awesome nail design technique on pinterest and I thought I would give it a whirl. Here is the technique.

 
The way you do this technique is to layer the nail polish in thick coats. You can layer them dark to light or light to dark that choice is up to you. Once the polish is completely dry, you take a paint brush socked in acetone and slowly remove some of the layers of nail polish reveling the different layers. Just make sure you don't go all the way to your natural nail because then you will have to fix it. Over all this is a super easy design. The technique I saw on pinterest used black and vibrant color polishes, but I'm still addicted to all fall colors. So of course I went with oranges, reds, yellows and browns. Over all I thought this technique was really neat. I think it would look better with bright colors and black but I still like the fall colors.


Colors I Used: (in order I painted them)
Index, Middle and Pinkie: "Lemon Fizz" from China Glaze, "Sunny Side Up" from Wet N' Wild, "350 Big Night Out" from Rimmel, and "228 Chelsea" from NYC
Thumb and Ring: "Lemon Fizz" from China Glaze, "Sunny Side Up" from Wet N' Wild, "350 Big Night Out" from Rimmel, "228 Chelsea" from NYC and "Hot for Chocolate"  from Revlon

What do you think of this technique??

XOXO's
Love and Nail Polish,
Sierra

Saturday, September 29, 2012

Color Blocked Nails (a post I wrote last year, byut never posted) WHOOPS


This week I was up for a more challenging nail design. I debated on a few different techniques and finally decided to try out color blocking for the first time. When I started painting I was originally going to paint each nail the same color. But after looking at all my colors I decided to paint each nail a different color. I decided I would use my fine tip white polish to line the design. For this mani, I used a total of 20 different colors and it took me about three or four hours to finish. I'm guessing on the time because I worked on and off on this mani all day (I tend to take random breaks on and off while I paint my nails. I was also reading a book while I painted)

I started this technique by painting each nail a base coat.  To do the color blocking I simply painted the other colors in a random patterns on each nail. Then, I added the white lines in between each color.


A few days after I painted the mani I was kinda bored with it. But I didn't have enough time to change the design so I added a matte top coat. I was concerned at first that matte coat would take away from the design but I actually really liked it.
Would you try this technique?

XOXO's Love and Nail Polish,
Sierra

Monday, June 11, 2012

Splatter Paint


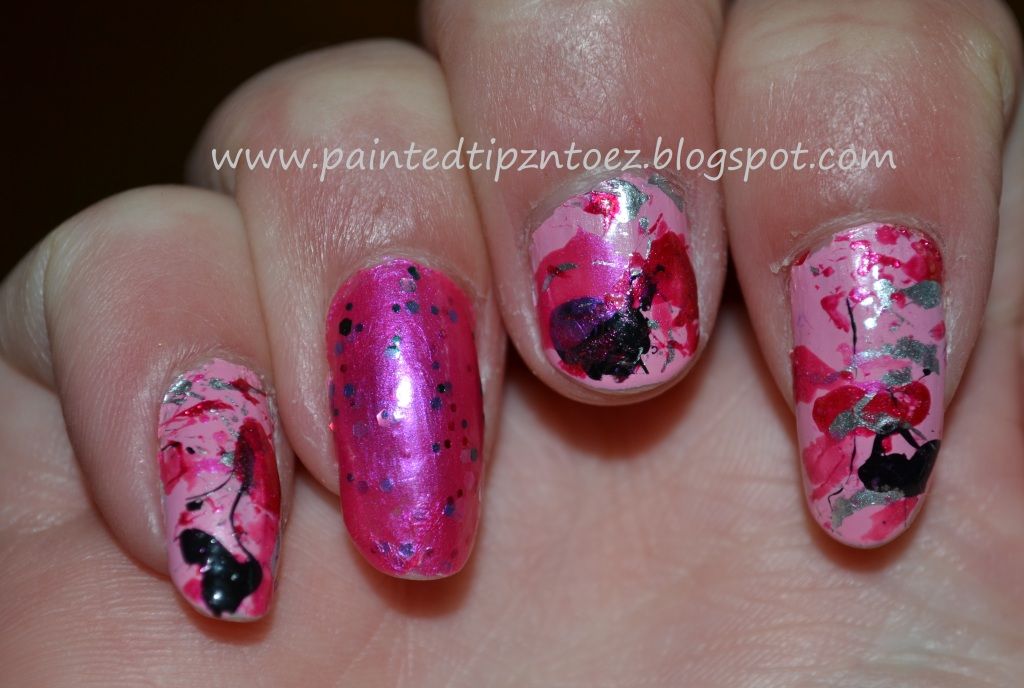
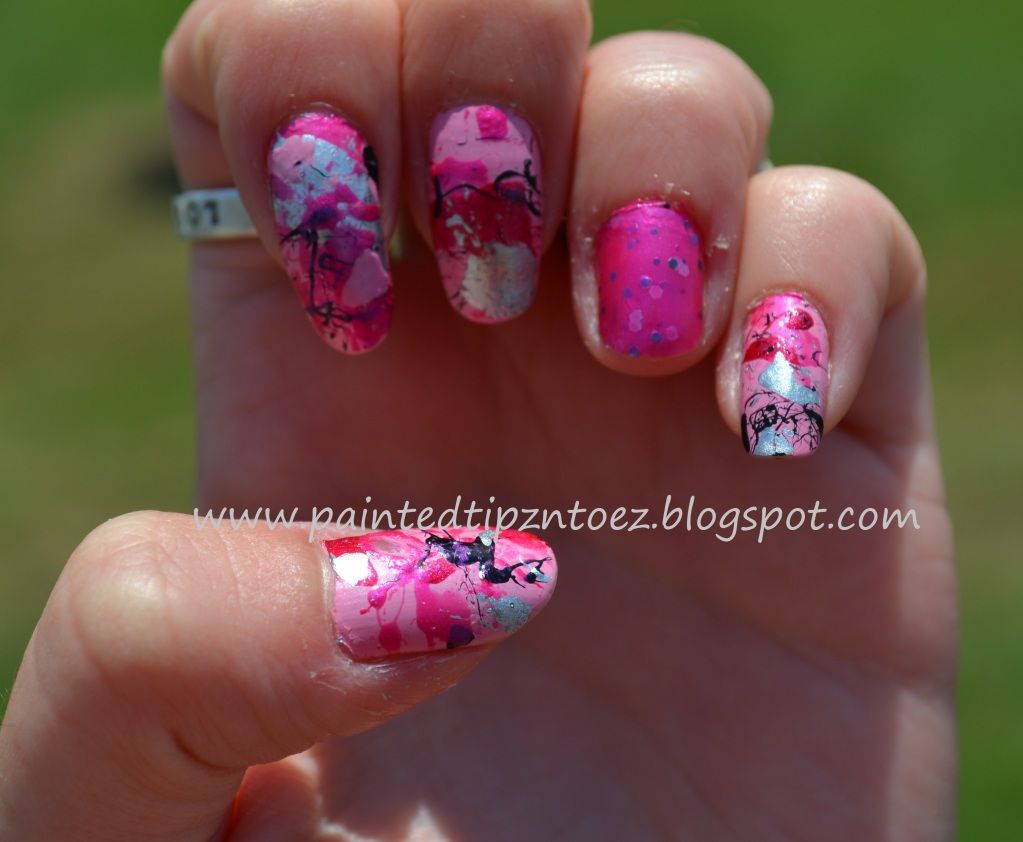
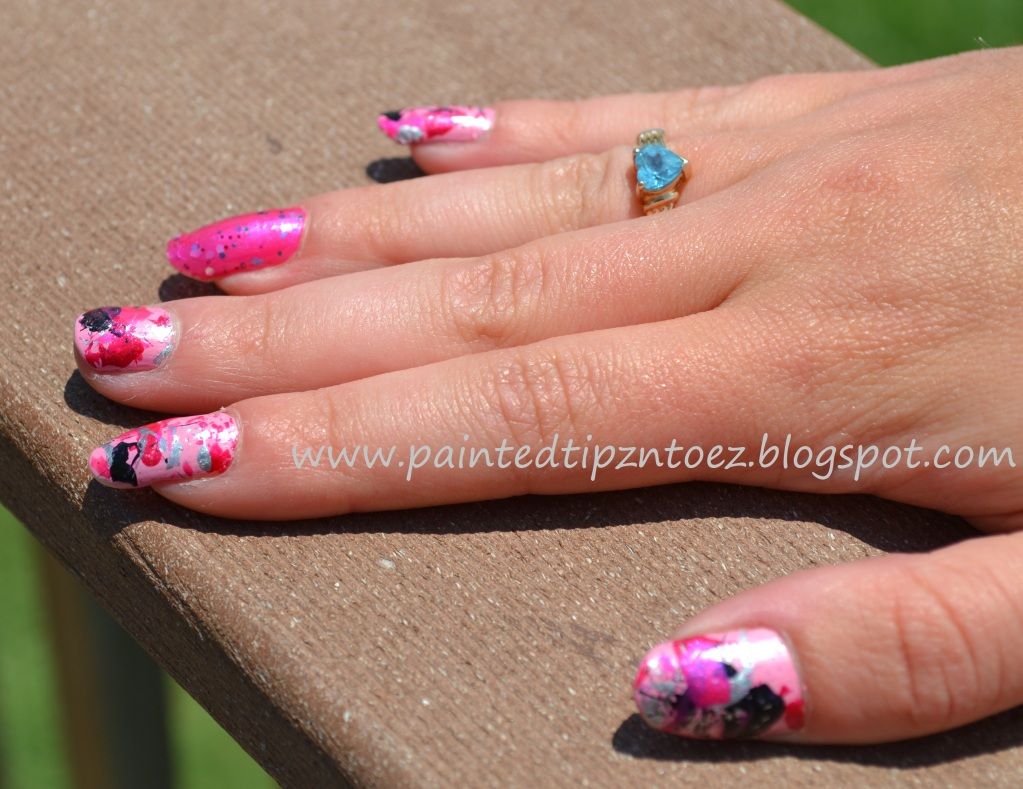
After, wanting to do this design for a few months, I finally decided to try out the splatter paint design. I wish I could say this design is as easy as it sounds. However, it was not. Most of it is just trial and error and figuring out what works for you.


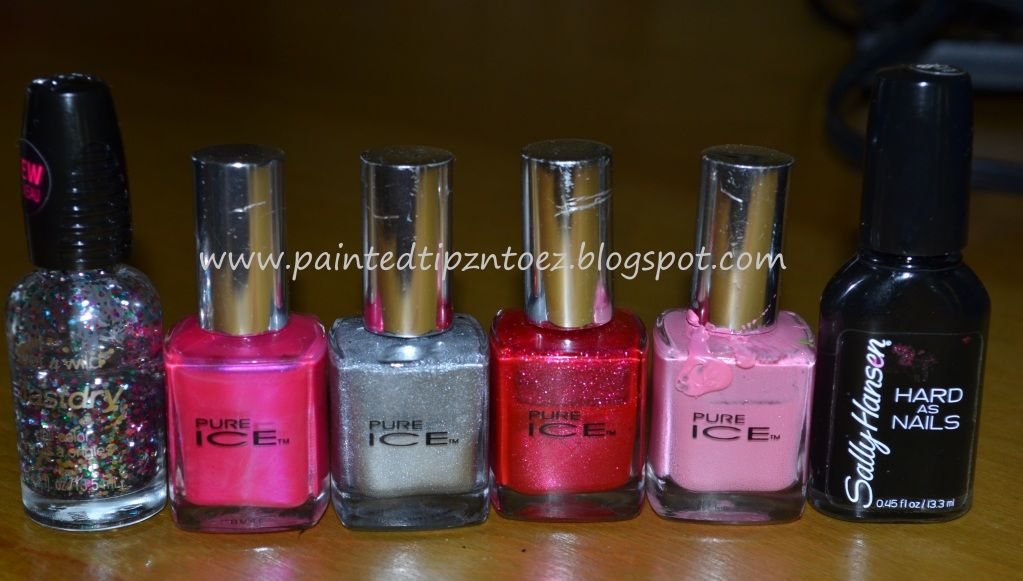
Colors I Used:
Base Coat: "Love" from Pure Ice
Splatter Nails: "880 Black Heart" Sally Hansen, "Free Fall," "Vineyard," and "Silver Mercedes" from Pure Ice
Accent Nail: "Free Fall" from Pure Ice and "Party of Five Glitter" from Wet N' Wild


How I did It:
Describing how I did this design is rather easy. You will need at least 3 polishes, an index card and straws. First, paint your nails a base coat and let them dry. Next, place a glob of each polish on to an index card. Then, dip the end of the straw into the polish, place the straw directly over your nail and blow. The paint should splatter over your nail. Then you take acetone and remove any of the polish that didn't land on your nail. I made a few changes to this, because I said before this is a design that is trial and error. First change I made was I coated the skin around my nail with Vaseline. The Vaseline helped with removing the polish around my nail. Because all I had to do was wipe the Vaseline and off came the polish. The other change I made was I painted the polish directly on to the straw. I tried dipping the straw into the glob on the index card. But it didn't work like I wanted and painting a thick layer on the straw worked better. That's all the changes I made, however, I also notice the thinner the polishes were the easier they were to work with. But any polish will do.
Over all this design worked well. I love the way it turned out!!! I would love to hear if you found some other easier ways to create this design, so feel free to comment!


XOXO's
Love and Nail Polish,
Sierra.


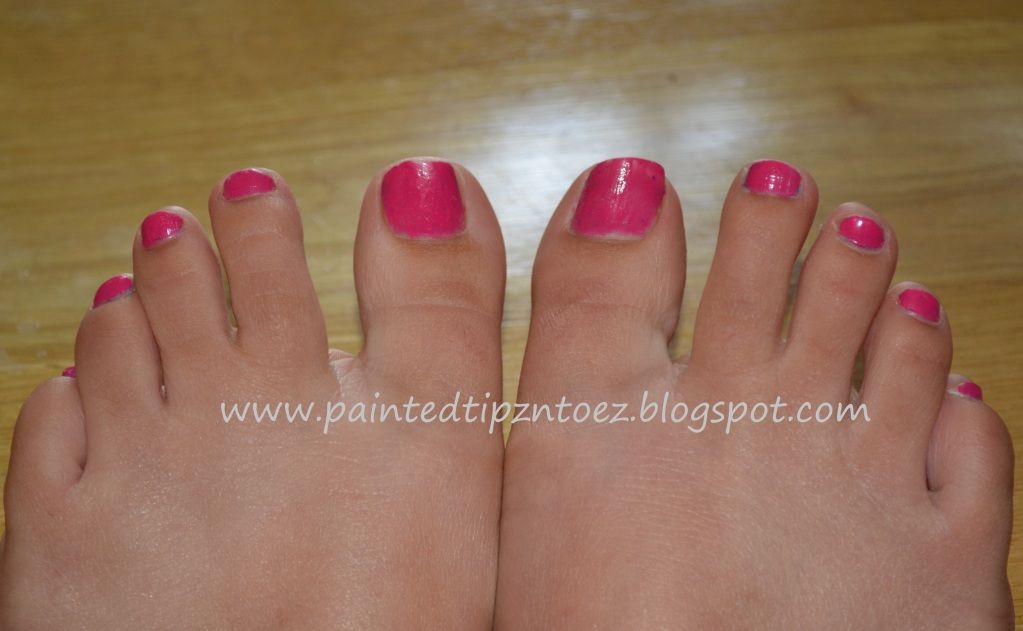
Oh my oh so very sweet boyfriend also painted my toes to match my nails!! Didn't he do such a wonderful job!!

Wednesday, May 16, 2012

Gold and Beaded Nails


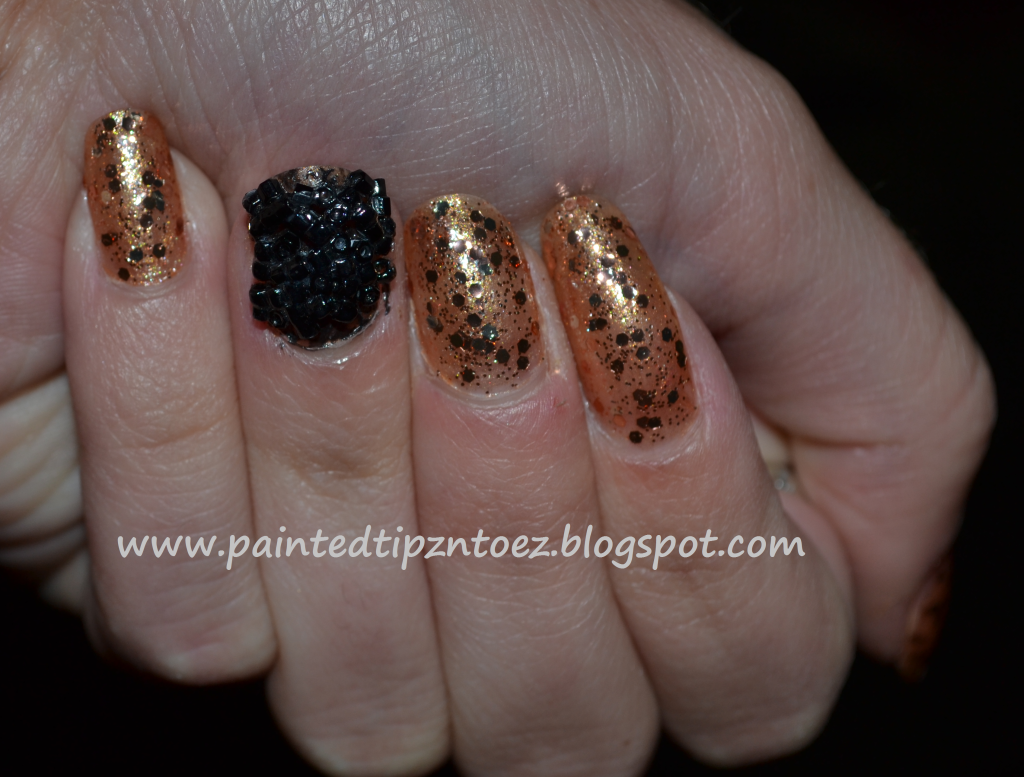
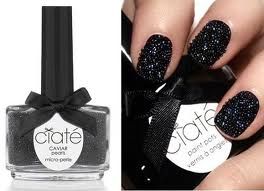
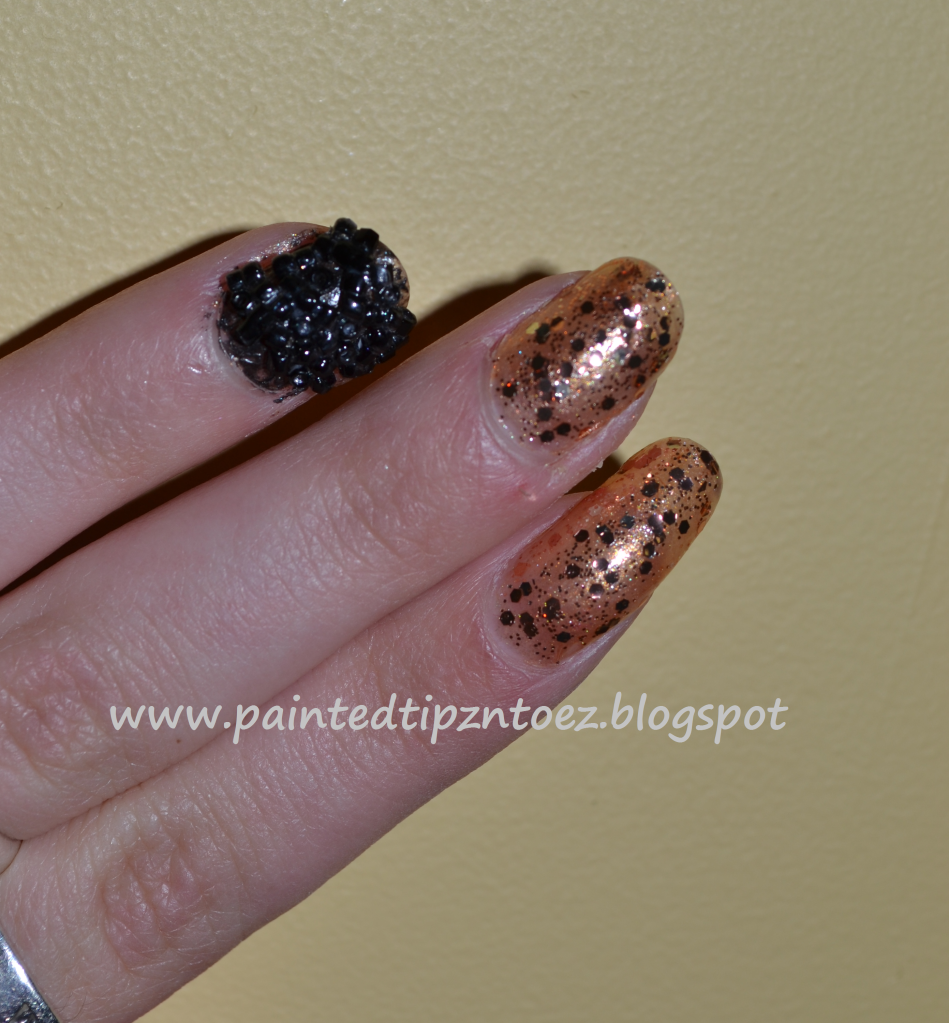
A few days ago, on pinterest I saw the caviar polish from ciate. I love the effect it gives to your nails and I am definitely thinking about purchasing myself a bottle. However, I wanted to try out a cheaper way to see if I could get the same effect. So I went out to Michael's and found the smallest beads I could find. This took about 20min and my boyfriend and I both looking. But we found them!! When I got home I decided I wanted to do a gold and black design.

Colors I Used:
Bead Nail-"Electric" from Pure Ice
Gold Nail- "Gold Dust" from Pure Ice, "Traffic-Stopper Copper", and "The Gold and The Beautiful" from Sally Hansen


How I Did It:
For my gold nails I applied two coats of "Gold Dust" Next, I added two coats of "Traffic-Stopper Copper" a layer of the "Gold and the Beautiful" and two more layers of "Traffic-Stopper Copper" Both of these polishes had a clear base and I wanted my nails to be glitter packed so it took more polish then I expected.
For my beaded nails, I started by painting my nails black. After, the polish had dried completely. I added a thin coat of nail super glue on top of my nail. I placed my nail over a small container and began dumping the beads over my nail. Once, I had the desirable amount of beads on my nails, I pressed them into the glue. I added more as needed. Sometime the sides of my nails had no beads adhere to it, so I placed more beads. I repeated the process till my nails were completely covered in beads. The only down fall to this effect, is it chipped super easy. One of my nails had chipping after just a few hours of wear. Over all the looked turned out ok. Not as good and the Ciate brand, because the beads were not small enough. But it looked rather cool.


XOXO's
Love and Nail Polish,
Sierra 

Friday, November 18, 2011

News Paper Nails


After a dis-hearting failure at comic strip nails I decided to try newspaper nails. THESE ARE SO EASY!!!! And super cute! I ran across this design a while back but never had the chance to do them. Since I am going on a youth retreat this weekend, I was hoping to show off some cute comic strip nails. But after, that failing (I need some more practice) I decided to do this design. This design was a lot easier and quicker then I excepted and I think they turned out great for my first time.

For this mani you will need:
  White Nail Polish
   Rubbing Alcohol
   Small Container
   New Paper (DUH)
   Scissors
   Top Coat

To start you will need to cut out 1 by 1 inch squares of newspaper. It doesn't matter what it saids. When the words copy on your nails they will be backwards, so you can't read them.
Next, paint your nails a solid white. I used "French White Tip" from NYC.
Once, the polish has dried complete. Pour some of the rubbing alcohol into a small container. Any kind of container will work.
Then, carefully dip the newspaper strip into the alcohol. Make sure the piece is fully wet before placing it on your nail. I left each piece in the alcohol for about 3-5 seconds.
After, taking the newspaper out of the alcohol carefully lay it on your nail. Push the paper as hard as you can onto your nail, rolling you fingers back n' forth over the paper. Doing this will help the ink go on to you nail. I pressed mine on for about 30 seconds before I peeled the newspaper off. The harder you rub and the longer you leave the paper on your nail, the darker the pigment of the writing will be on your nail.
Lastly, apply a thick coat of top coat. This is a a necessary step because the ink will rub off quickly unless you add the top coat.
That's it! It really is that easy. Hopefully I will figure out how to do the comic strip nails soon and I will post them. But for now I am going to show off these creative newspaper nails.
XOXO's
Love and Nail Polish,
Sierra
Saturday, August 27, 2011

CHEETHA-Lioush

I think today's title pretty much sums up the picture of my nails.


So what ya think?
This is the second time I have tried Cheetah print. The first time I did it on my big toe. I meant to get a pic of them before I took it off because I also used my Sally Hanson Duo-chrome polish. But sadly I totally forgot. Anyways, it took about 2 hours to accomplish this mani and was EXTREMELY easy. When I first decided to do this design I thought I was going to be a lot harder. But I was surprise how quick and easy it was.
For this manicure I used "Hot Chocolate," "Copperglaze Platinum" and "Totally Toffee" from Revlon. For the purple accent nail I used "Scandal" from Pure Ice and a fraken I made. This was the first franken I have ever done and I was super excited to paint it on my nails. I loved the color; however, I think it needs more glitter and sparkles. I might work on that some more later. I still haven't picked out a name for my new franken. Any Ideas?


To paint the design I started with a base coat of "Copperglaze Platinum" It is a sheer goldish color so it took about two coats. I do not like this color plain, but I think it's a great base for designs.

 On my ring finger I painted a coat of my new nameless franken. This also took about two coats. After, the base coats dried I dipped out some "Hot chocolate" polish on to an index card. Then I dipped the tip of my dotting tool into the paint. To apply it on my nails I did small "c" and backwards "c." This made the dark outline for the print. I did the same on my light purple nail except I used "Scandal" since it is a deep purple shade. When this had dried I again place some more polish onto the index card. This time I used "Totally Toffee" I used my dotting tool and painted in between the dark "c" I had already painted. I thought this color made a good contrast with the other colors on my nails. On my Ring Finger I did not paint inside the lines. I debated on using another purple or a silver but I thought I would be to distracting. When I finished the mani I painted a light top coat and TA-DA my
Cheetah-lioush nail were ready to roar.
XOXO's
Love and Nail Polish,
Sierra
Wednesday, August 10, 2011

Watermelon Nails


What's one of the biggest summer time foods everyone enjoys? If you guessed watermelon then you guessed right! Haha. I figure since watermelon was a trade mark for summer I had to do it on my nails. I wasn't quite sure how to begin doing this nail design so I looked up some pictures and got a pretty good idea how to do the design.

I started by painted my nails a solid reddish/pink color. This is going to be the base of the watermelon. I used "Vineyard" form Pure Ice for my base color. I first thought about using one of my red colors but in my opinion using the red for a base coat makes the design look more like strawberries instead of watermelons. After I painted my base coat I let it dry a few hours before doing details. I knew I would be using note book page reinforcer to get a good curve in my tips and I definitely did not want the sticker to stick to my nails. I placed the stickers at the tip of my nail and painted it a deep green color, I used Camouflage from Rimmel. While I waited on the color to dry, I placed a few drops of "Wild Thing" from Pure Ice onto an index card. When my nail tip became tacky I painted another coat of "Camouflage" and then used a dotting tool, I applied the "Wild Thing" green to my nail. I had some trouble getting the greens to blend together the way I wanted them to with my dotting tool. So I decided to try a tooth-pick. That also didn't work so I tried using a paint brush. This work very well and was super easy. After, the green polish dried, I peeled off the stickers. This time I had no trouble peeling them off. When all the stickers were off I took my fine tipped white which is "White" from LA Colors and drew a small white line under the green to resemble the rind of a watermelon. The last step for this mani is seeds. I used "Liquid Leather" from China Glaze. I found out that using my dotting tool and slightly pulling the small black dot down works better than a tooth-pick. But both will do fine. I put three small dots on each finger but you can do more depending on what you like. Over all this mani was fairly easy and I really loved wearing it around.
Until next time,
XOXO's
Love and Nail Polish,
Sierra.

Tuesday, July 26, 2011

Pure Ice Crackle


I am probably up way too late typing this, but I just couldn't wait! In my last post I wrote how I finally found the new Pure Ice Crackle polish at Walgreen's. Well I used it tonight!!! This was the first time I have ever used a crackle polish, and so far I really like the way it turned out.
Before I painted my nails I looked up some sites about how to do the crackle polish. I was assuming there was a trick to get the crackle to turn out as cool as it looks in the pictures. When I brushed the polish on I was shocked how it just instantly crackled. I was surprise how easy it was to apply and I think my nails turned out great.


For this Manicure, I used "Blue collar" from Orly, "Dream On" from Sinful Colors, "Sunny Side Up" from Wet n' Wild, "Wild Thing"  and "Cream Flirt Alert" both from Pure Ice. I decide to paint each nail a different color for a more playful effect. It also gave me a chance to see the how the crackle polish would do on different brands of polish. I thought the polish did the best on the nails with the Pure Ice polish as a base coat. It turned out the worsted on the Wet N' Wild polish. I am not sure if it was because I ended up putting two coats on crackle polish on the orange or if the was just the base polish. I also learned the thinner coats look better; at least that is what I think. I love how the polish gives my nails a punk-ish look but still looks clean and pretty. I am hoping to get more crackle colors and try more brands in the future
                      
XOXO's                                                                                                                                                 Love and Nail Polish,                                                                                                                            Sierra.

Saturday, July 16, 2011

Snake Skin Manicure!

When I found this Mani on The Looks for Less I was ecstatic. I literally think I remember squealing with excitement. I read her entire post, watched a video and even searched Google for more information of different ways to this technique. I found out that is mani had been showed on the today show recently and to have it done in salons it has whooping 150$ to 300$ price tag. I knew I could do it for way less and was excited to give it a try.  After, a few days of researching I set out on my hunt for snake snuff. Snuff is the skin that the snake sheds naturally it is also more humane then using real snake skin. I guess it is one snake’s trash is another person’s treasure lol. At the time we were camping in a state park, so I decided to ask one of the rangers at the nature center if they had any snake snuff I could use. I got a strange look, but after explaining why I wanted it, the ranger seemed on board. Jen gave me three different kinds of snake skin and about five pieces. She even came over the next day so I could to a trial run on her nails. I was excited about doing her nails and it taught me a lot before I did the technique to my nails. I think both of our manicures turned out great!


For the Snake Skin Mani you will need:
•Real Snakeskin (Snake Snuff)
•A Base Coat
•A Base Color
•Thick Clear Top Coat
•Small Scissors
•Tweezers
I started by using a deep brown base coat, For my base coat I used "Bronze Baby" from Petties. Jen decided that she wanted to use four different colors for her manicure. So, I used "Bronze Baby" from Petties, "Magic" from Pure Ice, and "Totally Toffee" and "Copper-glaze Platinum" both Revlon. I cut the snake skin to fit each nail and then applied a think top coat; before it could dry I used the Tweezers to carefully place the snake skin onto the nails. Once the bottom coat had dried good, I did the trimming to the snake skin. Trimming it just insures that all of the snake skin it against your nails. Next, I applied two thick layers of top coat.  The texture of the snake skin is slightly odd but I was able to get used to it after a day or two. After wearing the mani for a few days, I found that the snake skin with the smaller scales worked better than the skin with the bigger scales and they also have less texture.
As you can tell, I'm still working on the whole water marking thing. Any suggestion would be super helpful!

Over all the mani was amazing. I will definitely be doing it again.
What do you think of the manicure?
Would you try it yourself?

XOXO's Love and Nail Polish,
~Sierra