Showing posts with label Pink. Show all posts

Saturday, September 8, 2012

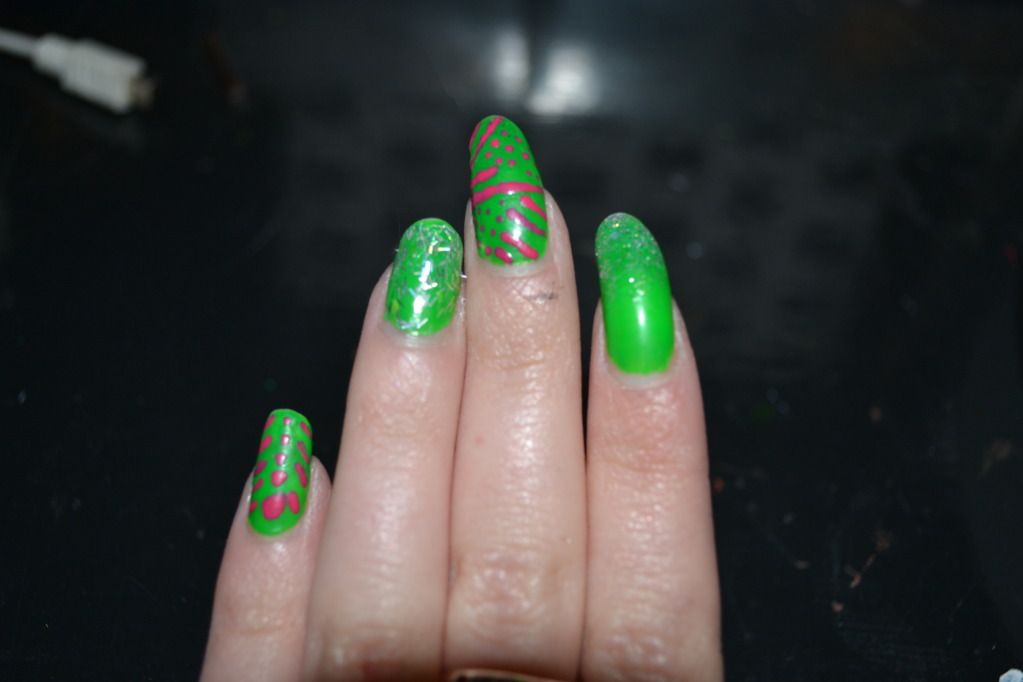
Green, Pink and SPARKLE Mani


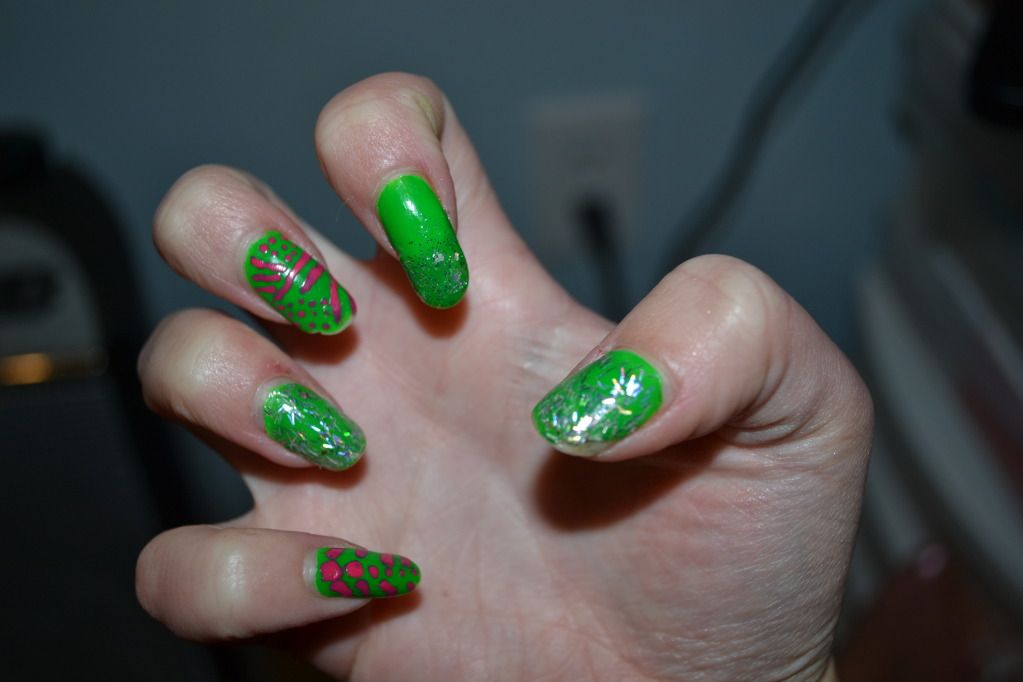
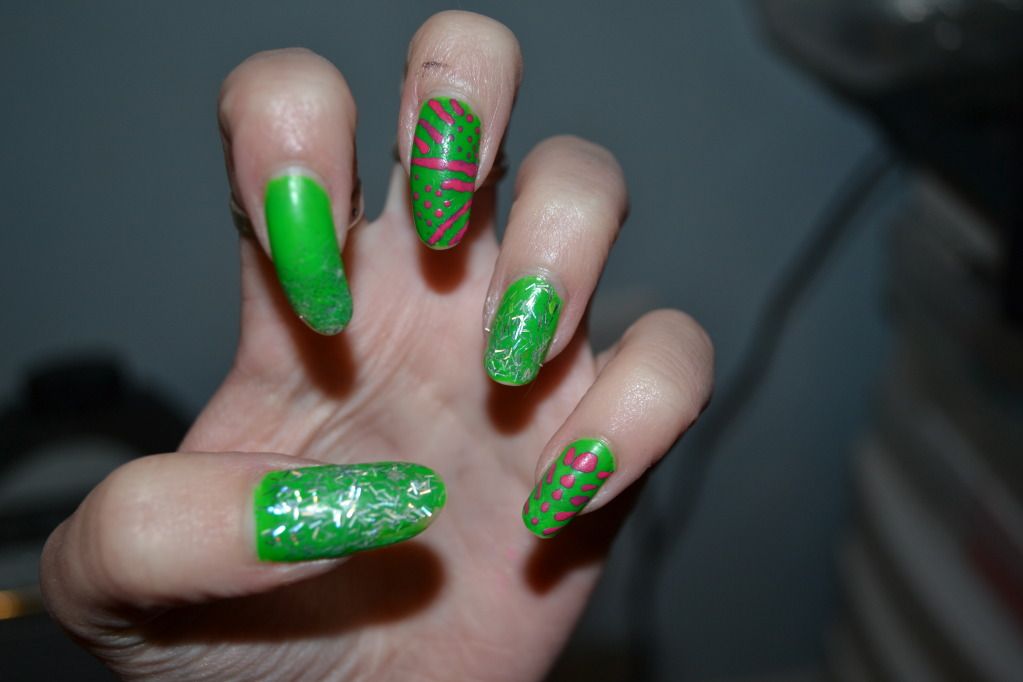
This week I knew I wanted something bright, fun and quick. So I decided to do a simple green mani. But, of course I couldn't go just green so I added glitter polish to 3 of my nails. Then, I decided that still wasn't enough so I got my pink polish and dotting tool and started making lines a dots and TA-Da! This is what happened! I thought this mani was super cute and I really liked the design I painted on my middle nail. I definitely might uses this design again!


Colors I used!
Base Coat: "Neon Green"- Kleancolor
Index: "Neon Green" with "Sparkle"- Revlon
Middle and Pinky: "Neon Green" with "Flirt Alert"- Pure Ice,
Ring: "Neon Green" with "Grand Finnal"- Kleancolor,


XOXO's
Love and Nail Polish,
Sierra

Saturday, July 7, 2012

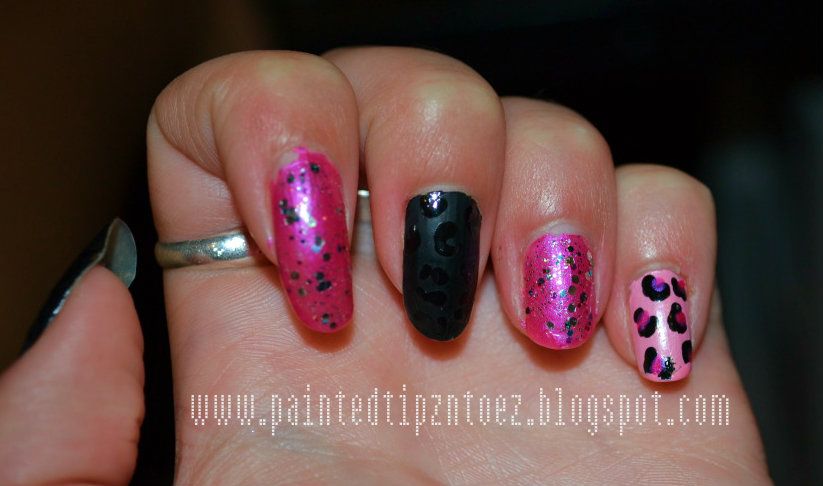
Pink N' Black

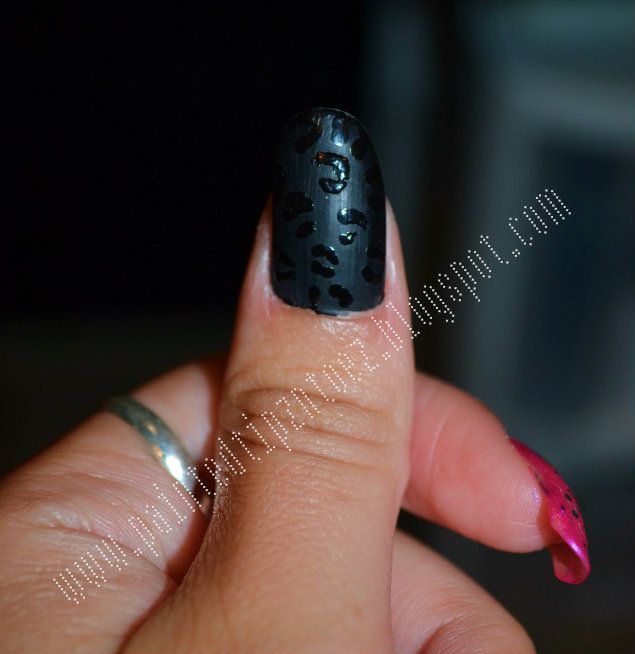
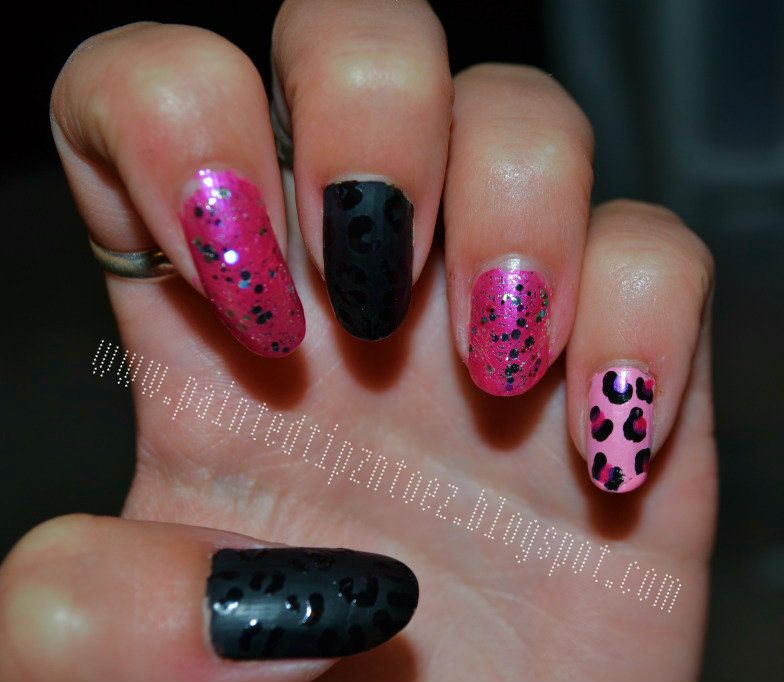
So my pink and green mani didn't last very long. After, a few days I was ready for somewhat of a change. I decided to change only my thumb and middle finger nails. To change them I painted my nails two coats of "Black Heart" from Sally Hansen. Next, I added a coat of "Mattly in Love" this gave my nails a matte finish. For the design I used my dotting tool and "Black Heart" to create a cheetah print design. This was quite a different look from my bright pink and green mani a few days ago. But I thought it was quite cute.


Colors I Used:
Thumb and Middle: "Black Heart" from Sally Hansen and "Mattly In Love" from Hard Candy
Index and Ring: "Free Fall" from Pure Ice, "Sparkle" from Revlon and "Party of Five Glitters" from Wet N' Wild
Pinky: "Love" and "Free Fall" from Pure Ice and "Black Heart" from Sally Hansen


XOXO's
Love and Nail Polish,
Sierra

Thursday, July 5, 2012

Pink N' Green


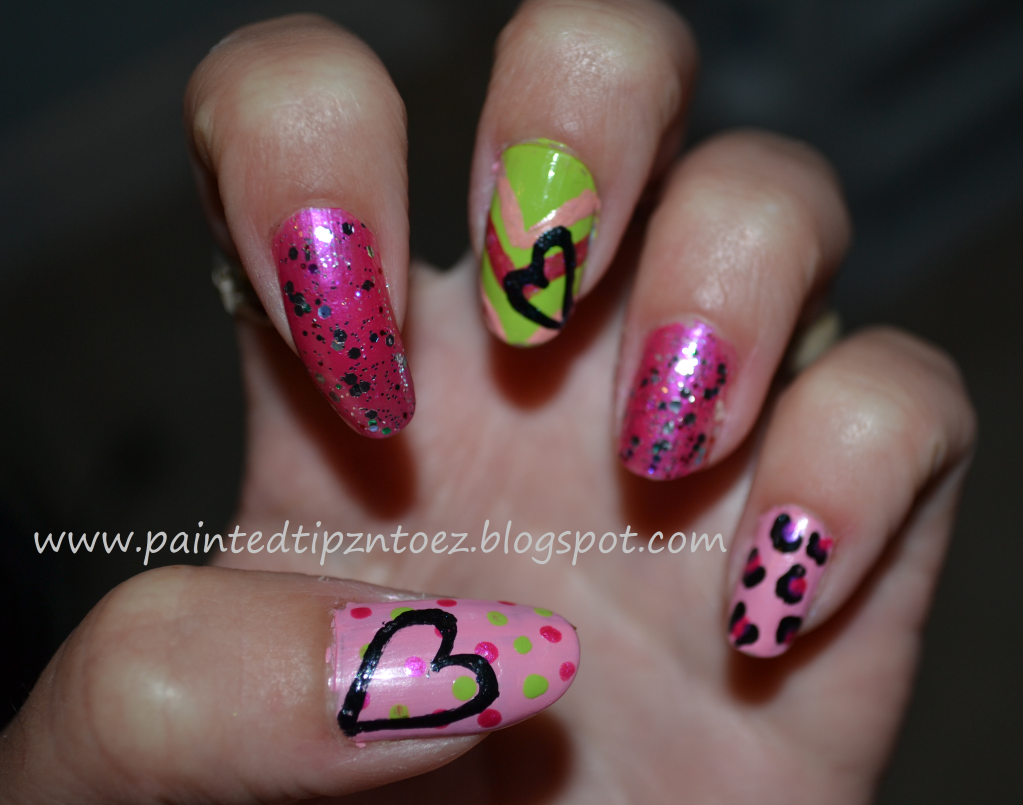
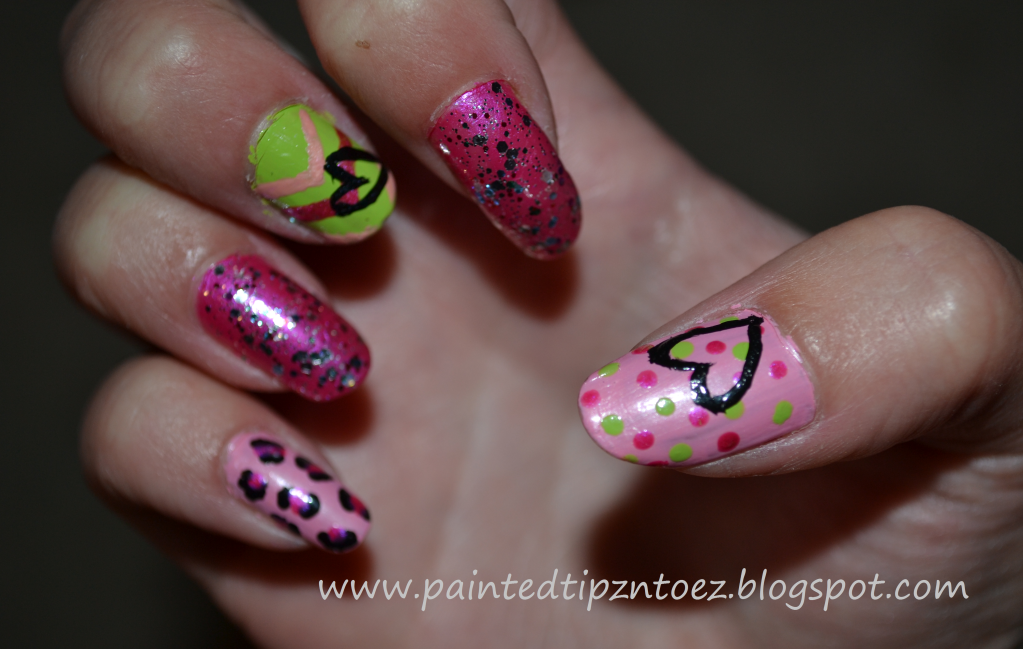
This week I was in a Pink mood once again. However, I didn't want just pink so i decided to jazz it up with some lime green and black!


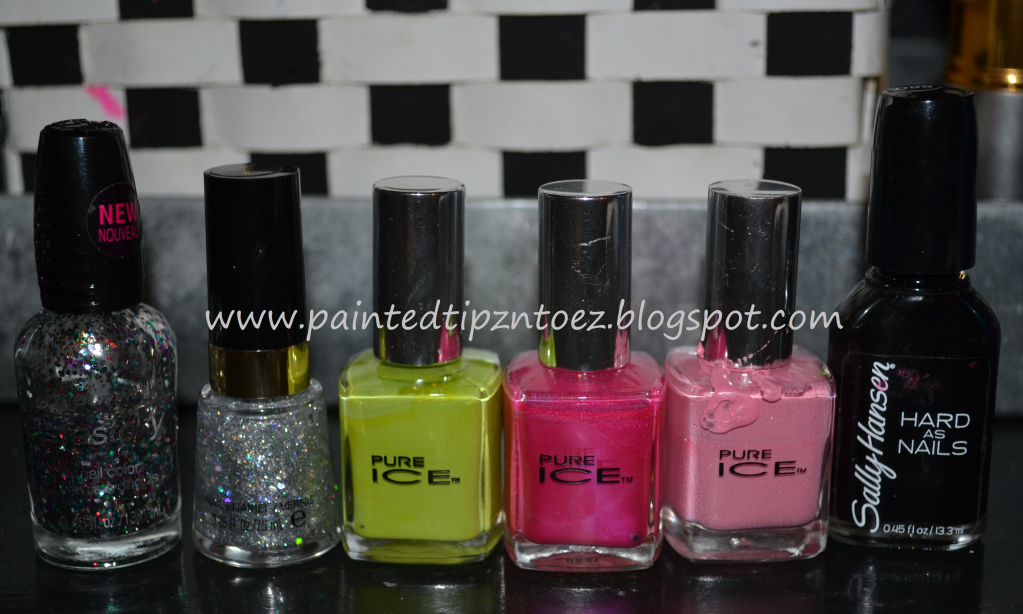
Colors I Used:
Thumb: "Love," "Free Fall" and "Wild Thing" from Pure Ice and "Black Heart" from Sally Hansen
Index and Ring: "Free Fall" from Pure Ice, "Sparkle" from Revlon and "Party of Five Glitters" from Wet N' Wild
Middle: "Wild Thing," "Love" and "Free Fall" from Pure Ice and "Black Heart" from Sally Hansen
Pinky: "Love" and "Free Fall" from Pure Ice and "Black Heart" from Sally Hansen


This was super simple and I love the way it turned out!

XOXO's
Love and Nail Polish,
Sierra

Monday, June 11, 2012

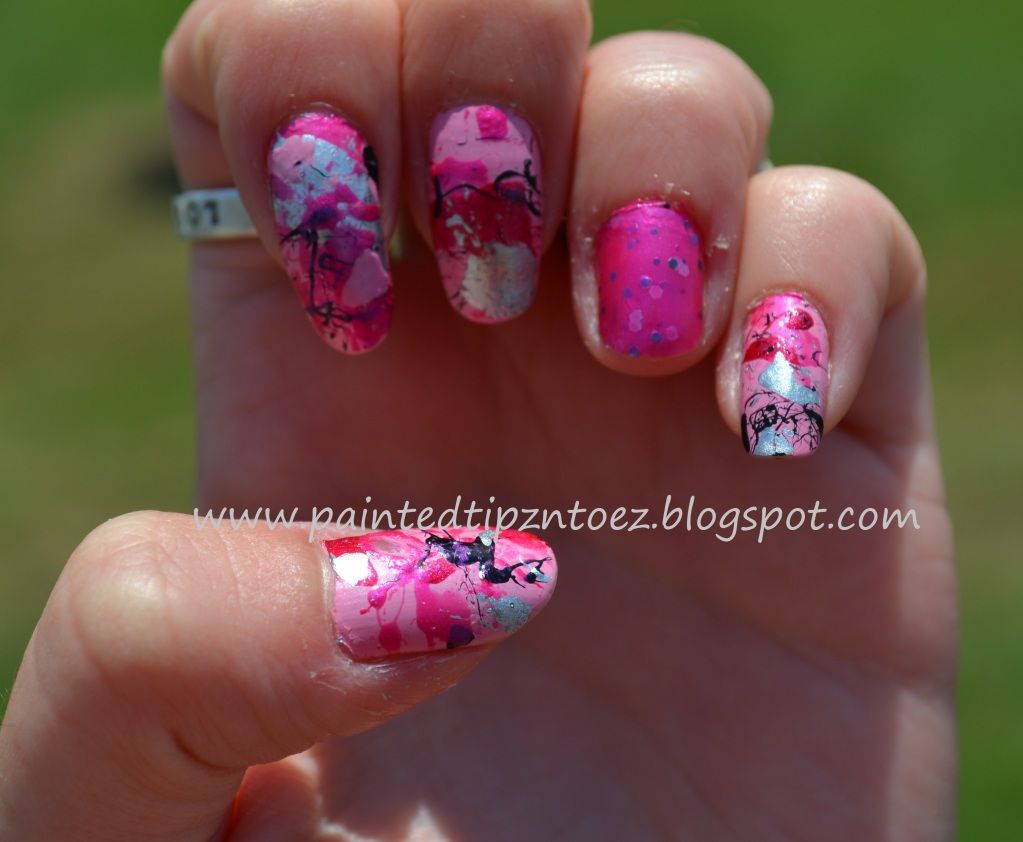
Splatter Paint


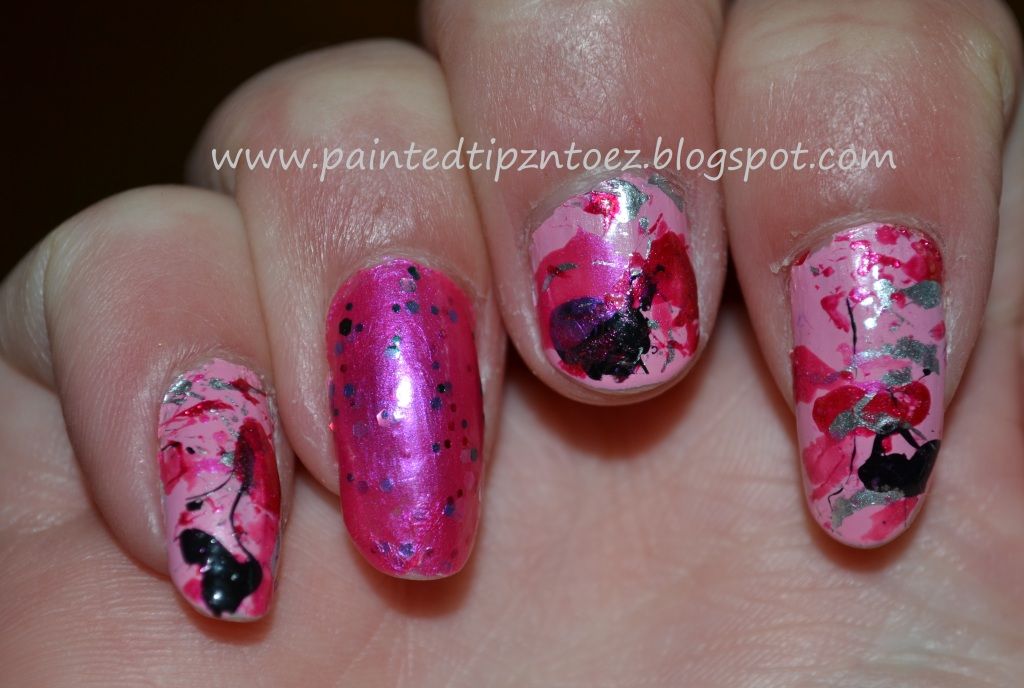
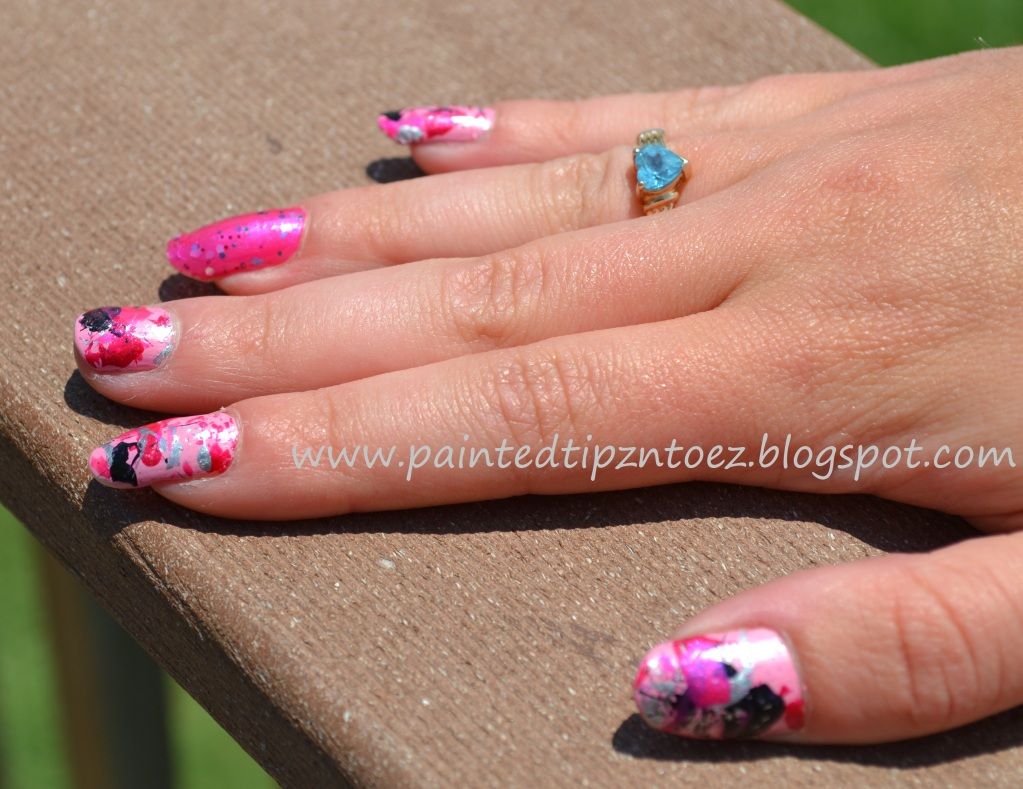
After, wanting to do this design for a few months, I finally decided to try out the splatter paint design. I wish I could say this design is as easy as it sounds. However, it was not. Most of it is just trial and error and figuring out what works for you.


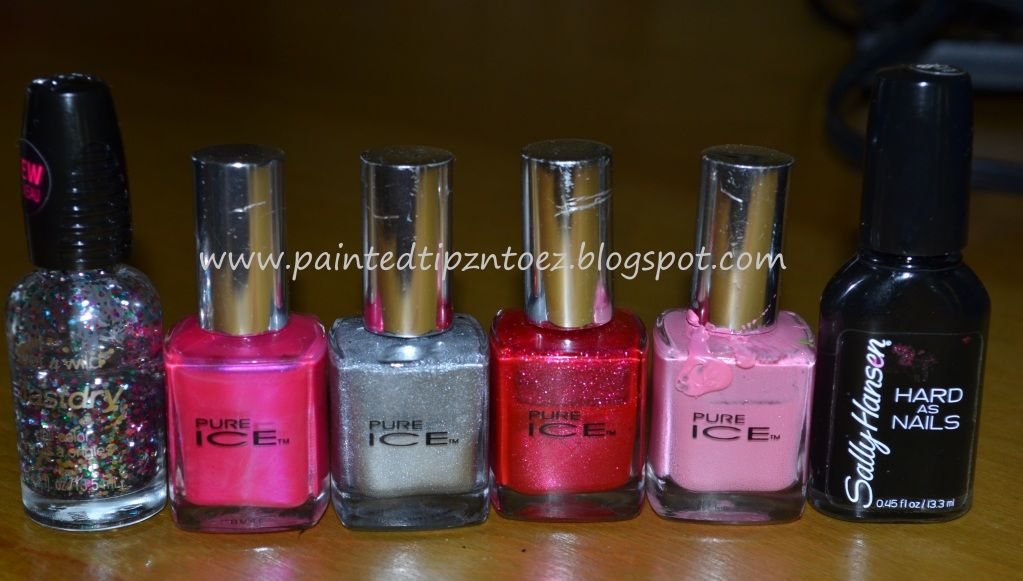
Colors I Used:
Base Coat: "Love" from Pure Ice
Splatter Nails: "880 Black Heart" Sally Hansen, "Free Fall," "Vineyard," and "Silver Mercedes" from Pure Ice
Accent Nail: "Free Fall" from Pure Ice and "Party of Five Glitter" from Wet N' Wild


How I did It:
Describing how I did this design is rather easy. You will need at least 3 polishes, an index card and straws. First, paint your nails a base coat and let them dry. Next, place a glob of each polish on to an index card. Then, dip the end of the straw into the polish, place the straw directly over your nail and blow. The paint should splatter over your nail. Then you take acetone and remove any of the polish that didn't land on your nail. I made a few changes to this, because I said before this is a design that is trial and error. First change I made was I coated the skin around my nail with Vaseline. The Vaseline helped with removing the polish around my nail. Because all I had to do was wipe the Vaseline and off came the polish. The other change I made was I painted the polish directly on to the straw. I tried dipping the straw into the glob on the index card. But it didn't work like I wanted and painting a thick layer on the straw worked better. That's all the changes I made, however, I also notice the thinner the polishes were the easier they were to work with. But any polish will do.
Over all this design worked well. I love the way it turned out!!! I would love to hear if you found some other easier ways to create this design, so feel free to comment!


XOXO's
Love and Nail Polish,
Sierra.


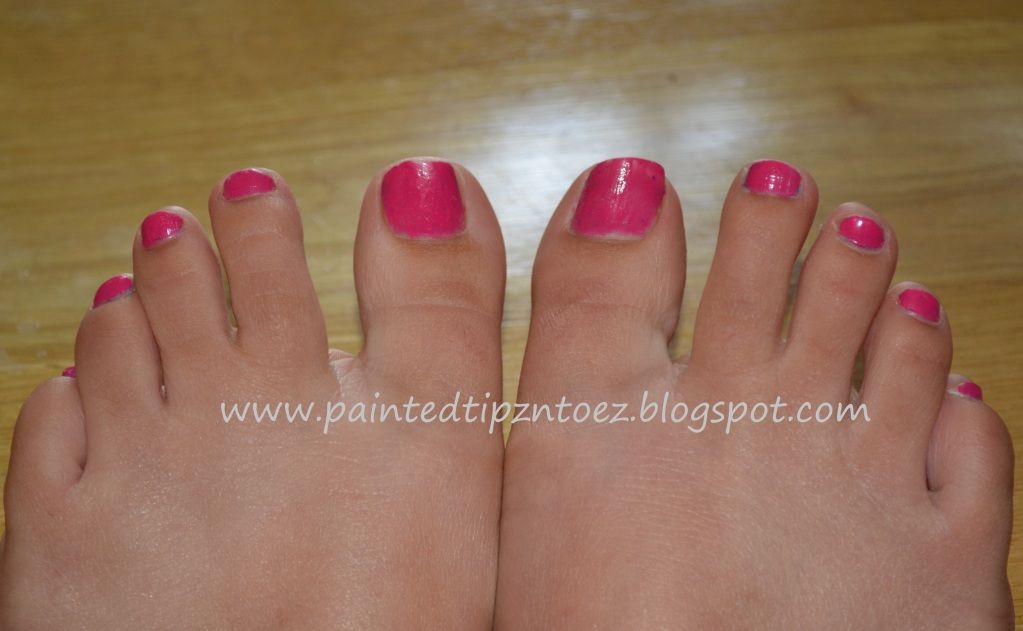
Oh my oh so very sweet boyfriend also painted my toes to match my nails!! Didn't he do such a wonderful job!!
Sunday, May 13, 2012

Peach Nails with Nail Art


Colors I Used:
Thumb and Pinkie- "Mighty Mango" Sally Hansen
Index and Ring- "Dreamy" Pure Ice
Middle- "Portobello" from Nails Inc.

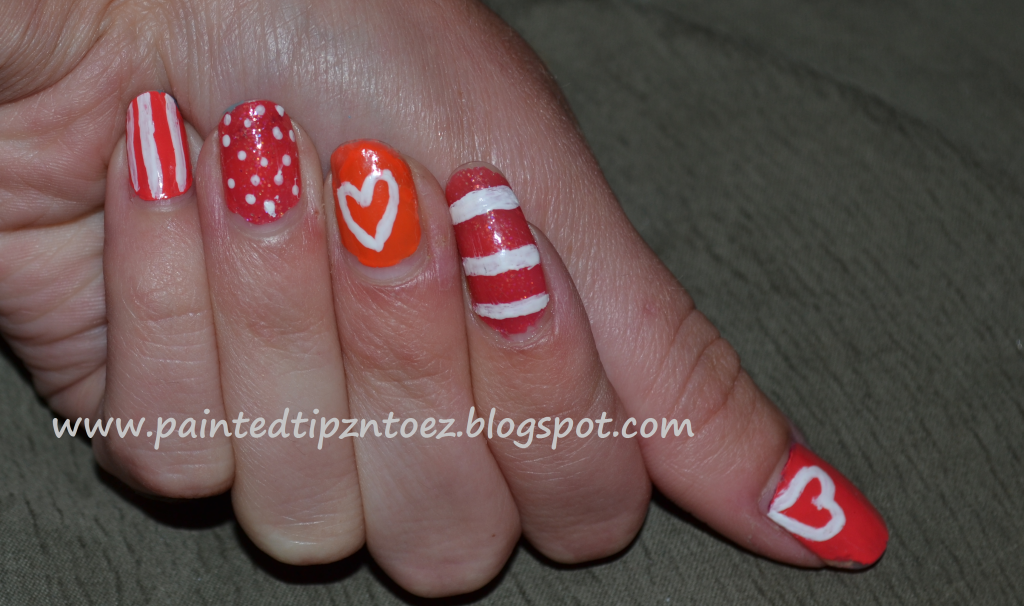
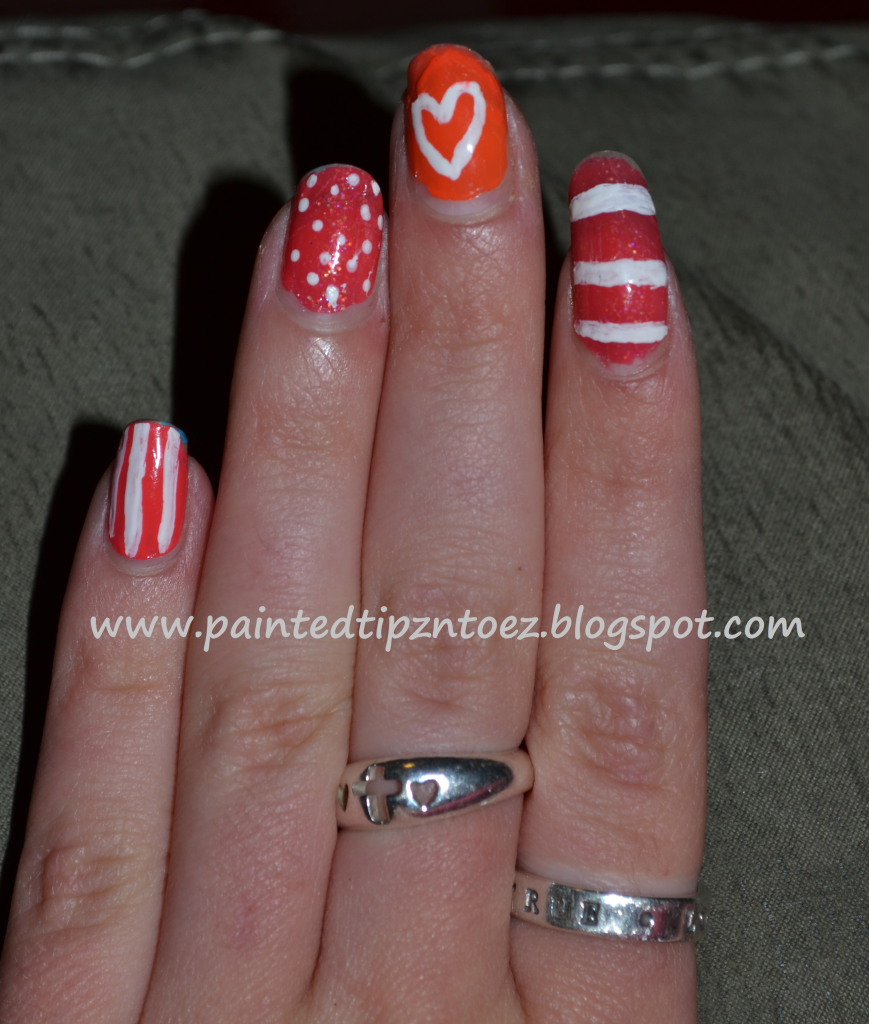
This week I wanted a simple but cute mani. Since I am currently, slightly obsessed with "Portobello" from nails inc. I decide to use three colors "Portobello" being one of them. For my thumb and pinkie finger I used "Mighty Mango" from Sally Hansen. For my index and ring finger I used "Dreamy" from pure ice and "Portobello" for my middle finger. All of the polishes looked very similar so they worked nicely together. I decide to paint all my designs in "French White Tip" from NYC, which is just a white polish. This way all my nails would tie in together. For my thumb and index nails I painted a heart. Then for my ring, pinkie and index nails I painted dots and stripes. Over all this mani was simple an easy but very cute!!
XOXO's
Love and Nail Polish,
Sierra