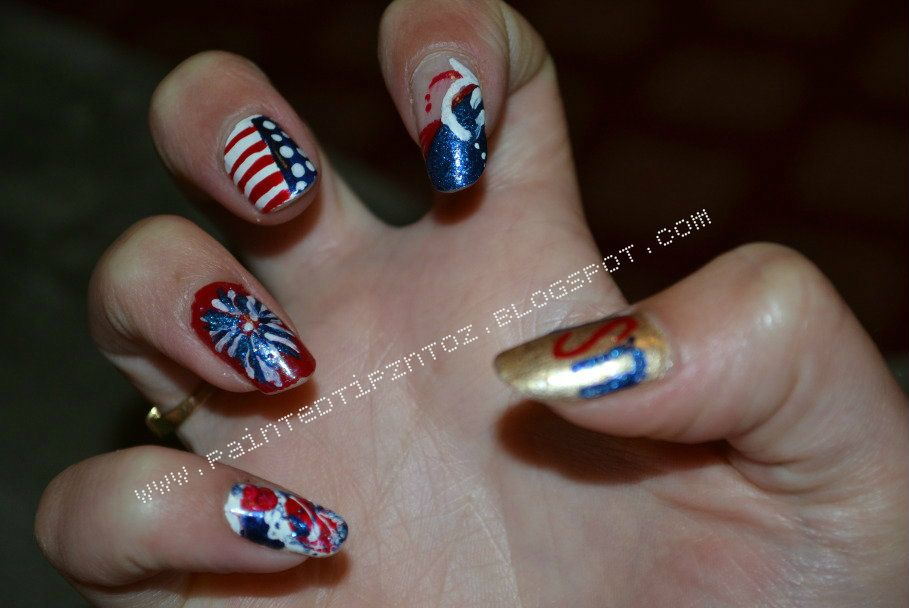
I thought it was very cute and I'm pretty sure I topped last year!! I received tons of compliments on this mani and most of the design was fairly easy.
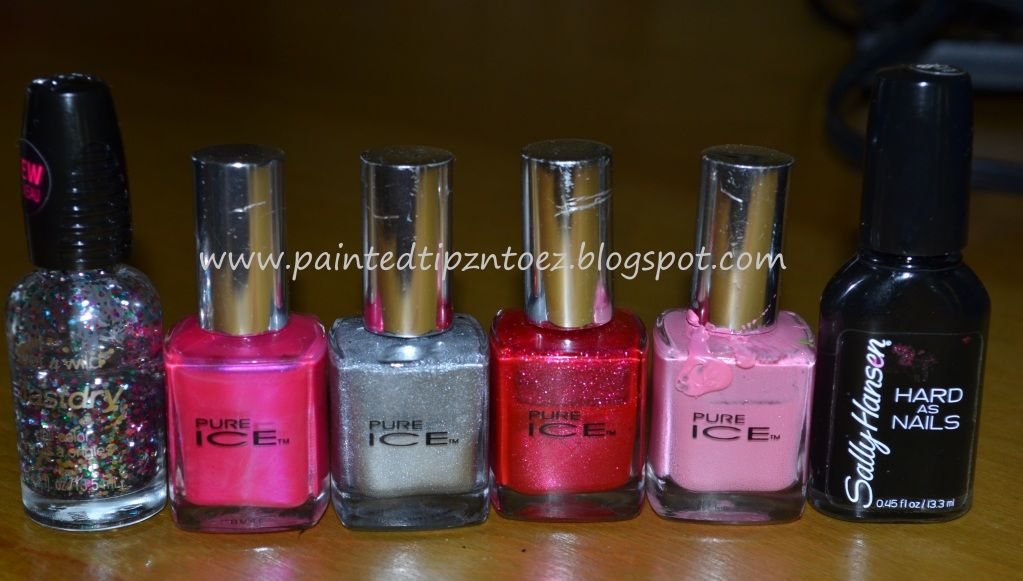
Colors I used:
Thumb: "Big Spender" from Pro, "Fame" from Petites, "Skin Tight Denim Cream" from NYC, "Strapless" from Pure Ice, and "Primary Color" from Finger Paints.
Index: "Skin Tight Denim Cream" from NYC, "Primary Color" from Finger Paints, "Strapless" from Pure Ice, "French White Tip" from NYC
Middle: "Skin Tight Denim Cream" from NYC, "Primary Color" from Finger Paints, "French White Tip" from NYC.
Ring: "Skin Tight Denim Cream" from NYC, "Primary Color" from Finger Paints, "French White Tip" from NYC,
Pinky: "French White Tip" from NYC, "Skin Tight Denim Cream" from NYC, "Primary Color" from Finger Paints.
How I Did It:
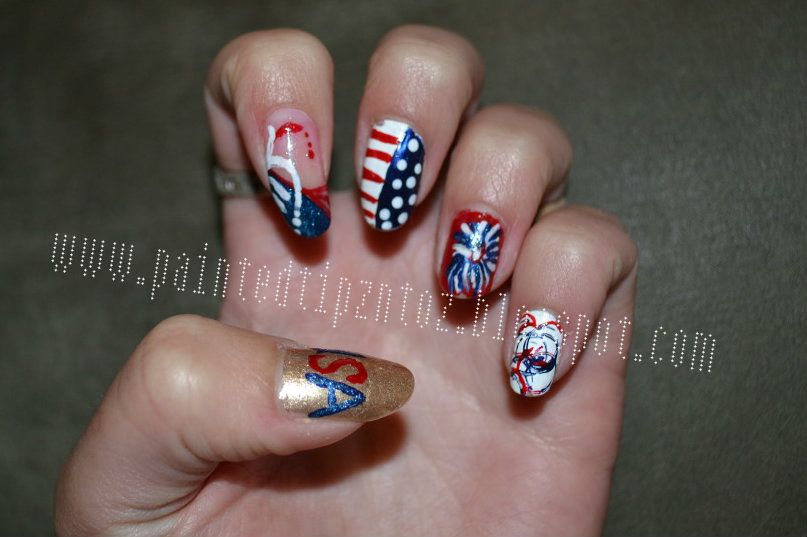
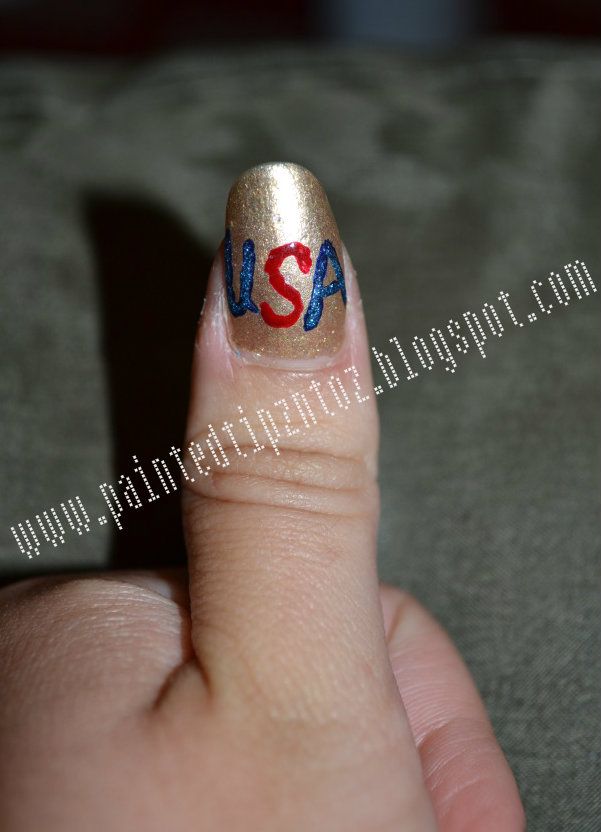
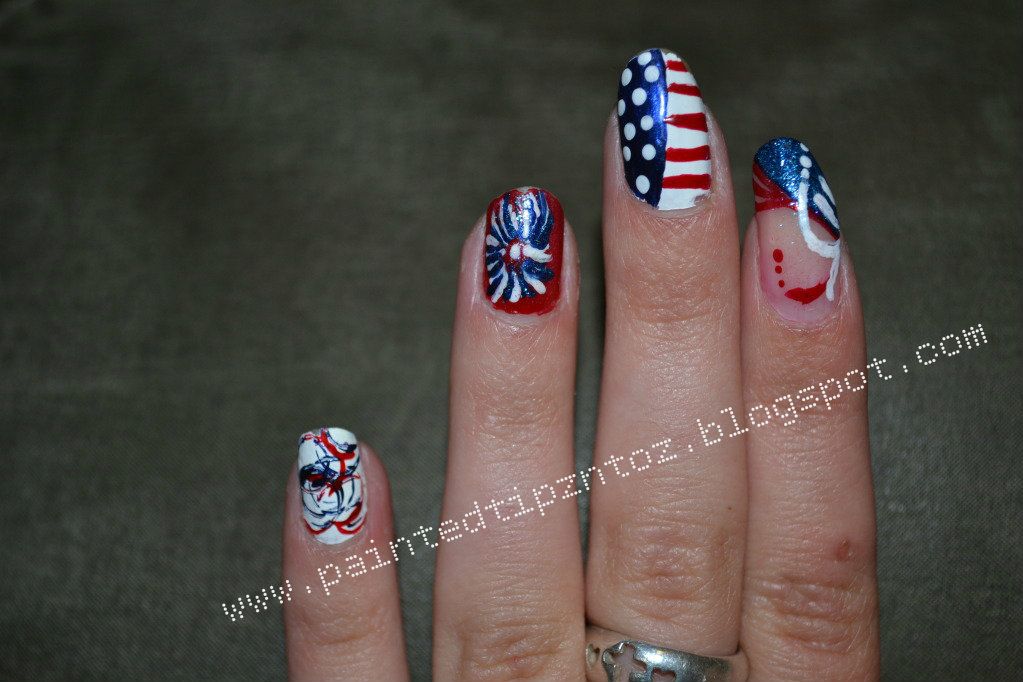
Thumb: The Base coat was two coats of "Big Spender" from Pro, under one coat of "Fame" from Petites. The writing was done with a paint brush using "Skin Tight Denim Cream" and then I put "Strapless" from Pure Ice over it to make the blue sparkle. For the Red ''S" I used "Primary Color" from Finger Paints.
Index: For my Index finger, I used one coat or "French Lingerie" from Rimmel, this just give my nail a clear base. I did a diagonal tip using "Skin Tight Denim Cream" and "Strapless." For the details I used a fine tip brush and a dotting tool and used "Primary Color" and "French White Tip."
Middle: For my middle nail, I first painted it all white. Then I painted half of the nail using "Skin Tight Denim Cream." Again I used my paint brush and doting tool to create the stripes and dots.
Ring: My ring finger was a lot of fun! First, I painted the nail "Primary Color." Then I took my fine tip paint brush and made random, curved stripes with white polish. I came back through with blue polish and then again with white and add more blue until I had the firework the way I wanted it. This was my favorite nail of my whole manicure.
Pinky: I did both of my pinky fingers different. I couldn't decide on one design so I tried both. First I painted both nails solid white. Then, for the nail on my left hand, I dipped the end of straws in the red and blue polish and placed it on my nails. This was super easy and would make a neat full mani.
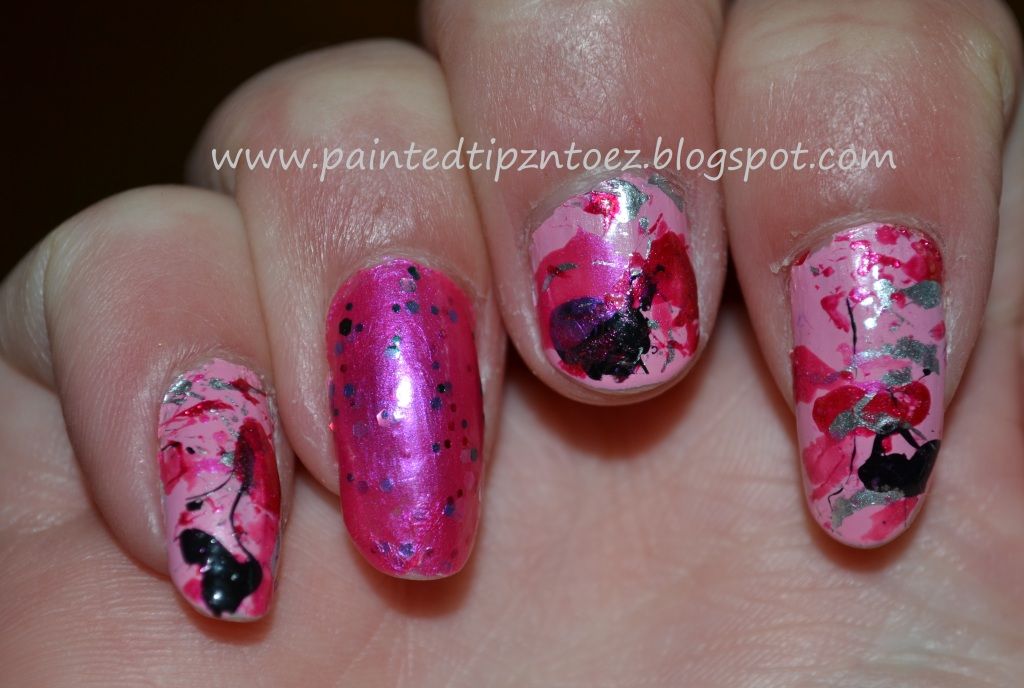
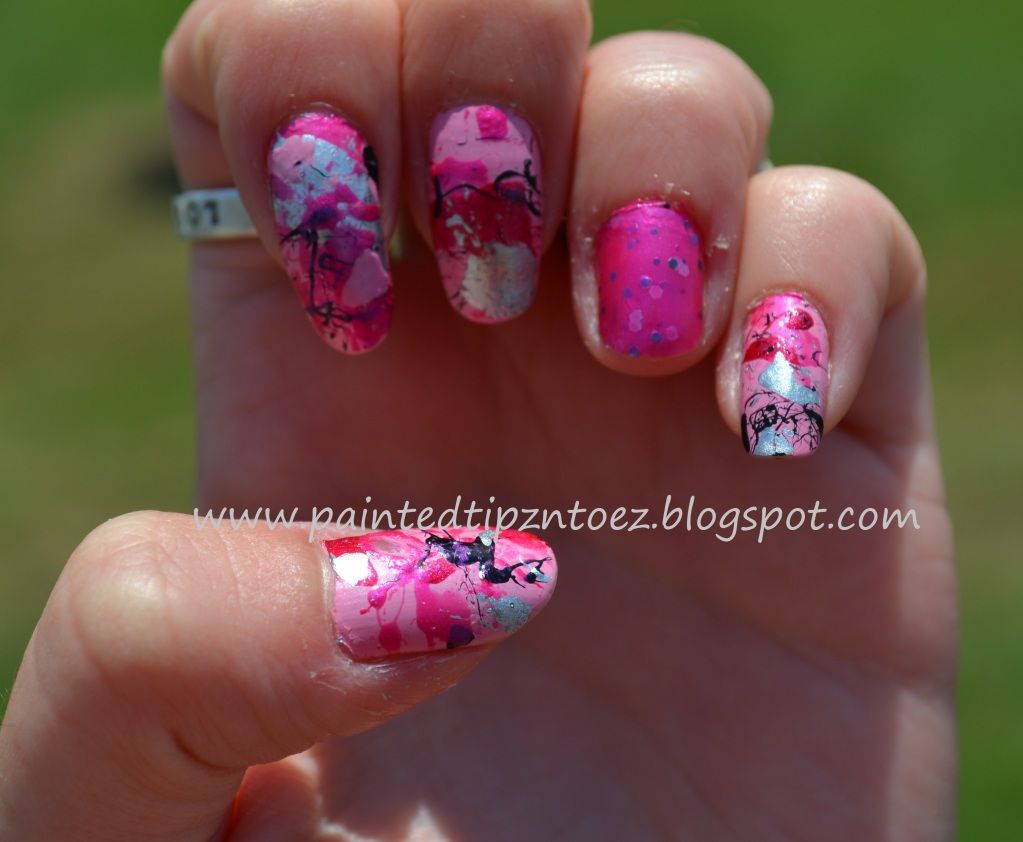
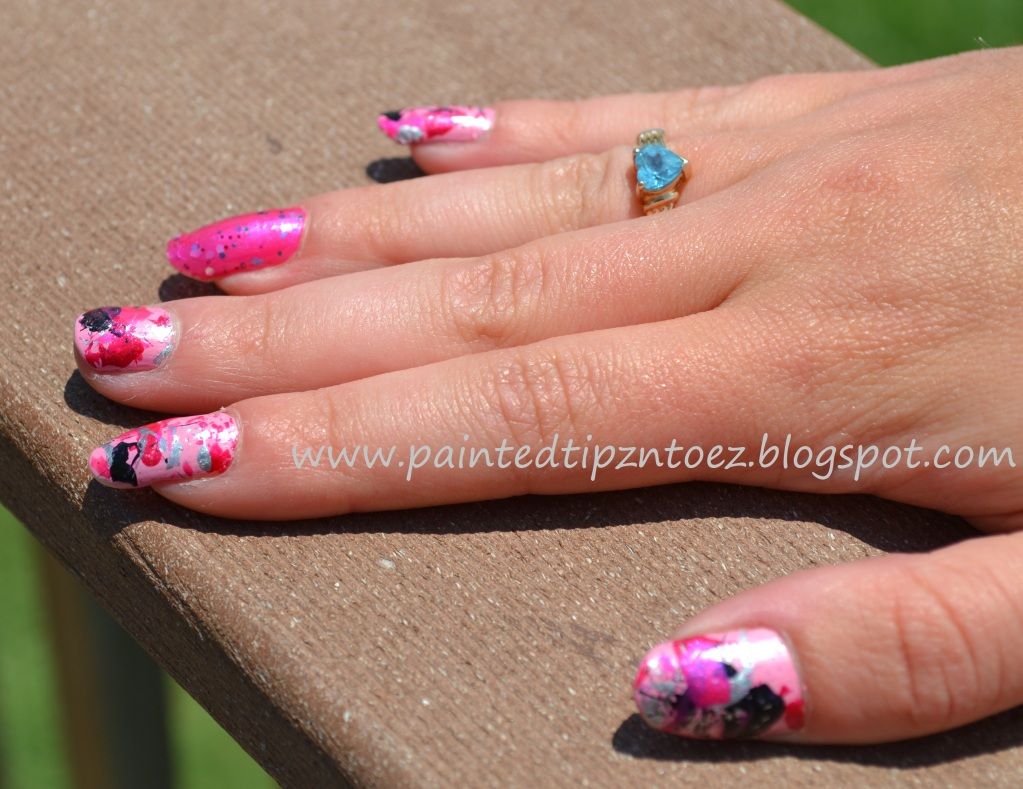
For the nail on my Right hand, I did the splatter paint effect I did a few weeks ago. I changed nothing but the colors of polishes I used.
This manicure was definitely one of my favorites and I was very pleased with the way it turned out.
XOXO's
Love and Nail Polish,
Sierra.